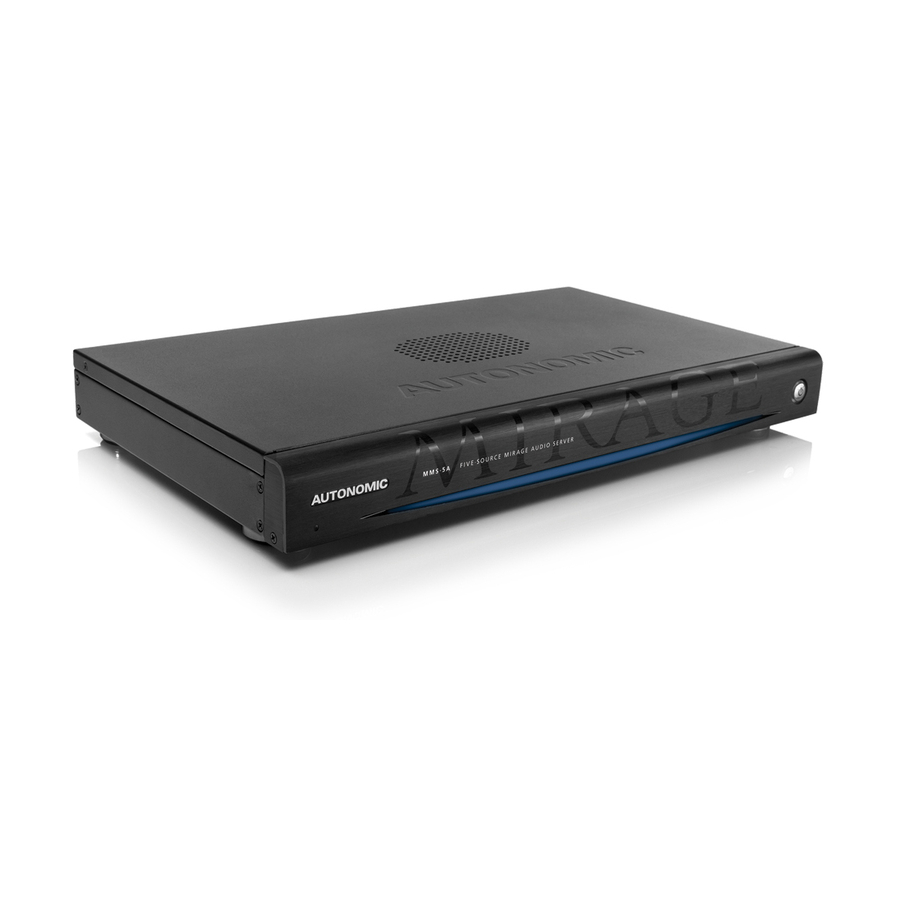
Autonomic MIRAGE Skrócona instrukcja obsługi - Strona 3
Przeglądaj online lub pobierz pdf Skrócona instrukcja obsługi dla System stereo Autonomic MIRAGE. Autonomic MIRAGE 4 stron. Autonomic mirage audio system
Również dla Autonomic MIRAGE: Skrócona instrukcja obsługi (3 strony)

2. NETWORK & SOFTWARE CONFIGURATION
Connect to Mirage Web Configuration
a.
Connect to the Server at: http://<server IP or network name>/config.
If using an MMS-5A, the default network name is MIRAGE-1. If using
an MMS-2A, the default network name is
http://MMS-2/config). If the default name does not work, you may have
to use the IP address assigned to the server by your router instead. Both
servers display their IP addresses on their video outputs during boot-up.
NOTE: On some computers (especially Macs) you will need to
.local
add the
suffix to the end of the server name (for example,
http://Mirage-1.local/config).
Network Setup
b.
First, set up the IP address. For system stability, each networked device
must always maintain the same IP address. It's strongly recommended
to use DHCP reservations based on MAC address. If reservations are
not possible, static IP addresses outside the DHCP range is the next best
option. Leaving the units on unreserved DHCP will then not be supported
on the server, and the amps must be able to reliably reach each other over
IP, and there is a chance for one unit or the other to change IP addresses.
Configuring the Mirage Media Server & Amplifier
c.
Once all devices have set IP addresses, navigate to the server's
Settings
tab, located on the server's web configuration page. Click the
drop-down box under the
Audio System
amplifier. Refer to the Mirage Media Server Setup Guide for step-by-step
configurations of the MMS Server.
d.
Once you have selected the amplifier, configure the source mapping by
selecting the amplifier input from the drop-down menu for each MMS
output. This configuration must match the physical configuration of the
audio cables from the Mirage Media Server to the Mirage amp.
Control Options
The Mirage Audio System integrates with most major
home control systems. Control modules are available at:
http://www.autonomic-controls.com/support_downloads.php
©2006–2016 Autonomic Controls, Inc. Autonomic and TuneBridge are registered trademarks of Autonomic Controls, Inc.
All other trademarks are property of their respective owners.
MMS-2
(for example,
Source
section, and select your Mirage
Download the free Mirage Media Controller App
KP·IOS & KP·6 KEYPAD CONFIGURATION
a.
The KP-iOS can be
KP·IOS
powered by a cat 5 cable
connected to the controller
ports on the back of any
Mirage amplifier in the
stack from up to 100 feet.
The KP-iOS connects to
the Mirage Audio System
for control over Wi-fi.
Alternatively, the KP-iOS
can be powered locally with
an optional 15V 2A power
supply connected directly
to the back of the KP-iOS
dock. This eliminates the
for 4th Gen iPod
100-foot limitation with the
cat 5 option.
The KP-iOS requires
a fourth-generation
iPod with the standard
30-pin connector.
c.
Set
Stay Connected
to
f.
Set
ON. This will ensure that
to ON. This will shut off
the Mirage app doesn't
the screen when the zone
disconnect from the server.
is turned off, rather than
display a black page.
d.
Set
Dock Mode
to ON.
This will keep the iPod from
going to sleep, allowing a
simple tap on the screen to
access the app.
e.
Set
Sleep & Wake with
Zone
to ON. This will dim
the screen automatically
when the zone is turned off.
It may be desirable to
c.
Set
prevent your customers
d.
Once Guided Access is
from leaving the Mirage
configured, open the
app. To accomplish this,
Mirage app normally, then
we recommend taking
triple-tap the home button
advantage of an iOS
on the iPod.
feature called Guided
Access. This can be
configured to require a
PIN in order to leave the
configured area or the
Mirage app.
a.
To access this setting,
navigate to the iPod's
Settings
app, then General,
then Accessibility.
b.
Under Learning, select
Guided
Access.
b.
Download the Mirage iOS
app from the Apple store
to the iPod. Open the
Settings
down to the Mirage app
in the list.
Hardware Dimming
g.
Set the Default Zones based
on the location of the
device. Open the Mirage
app, then from the
screen, tap the gear icon.
Guided Access
to ON.
e.
The
Guided Access
will appear. Select the
Start
option to configure
Guided Access.
f.
Repeat the process to end
Guided Access
exit the Mirage app.
KP·6
KP-6 configuration can be found in
the KP-6 manual located here:
http://www.autonomic-controls.
com/KP-6
app. Navigate
Zones
menu
in order to
