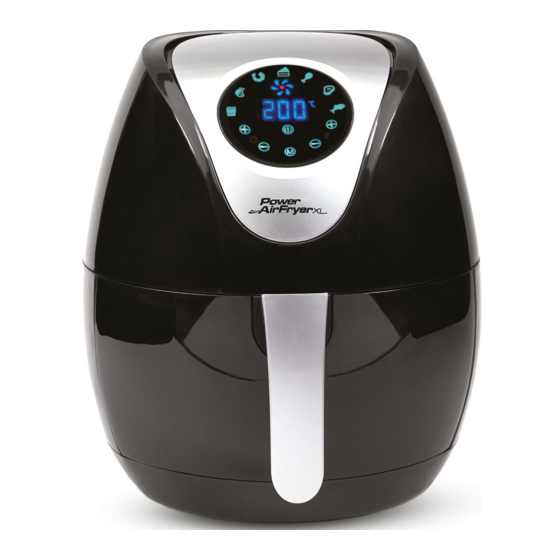
High Street TV AIRFryer XL AF-240 Instrukcja obsługi - Strona 7
Przeglądaj online lub pobierz pdf Instrukcja obsługi dla Urządzenia kuchenne High Street TV AIRFryer XL AF-240. High Street TV AIRFryer XL AF-240 12 stron.

Settings
• The table on the right will help you select the correct temperature and time for best results. As you become
more familiar with the Power AirFryer XL
TM
cooking process, you may adjust these settings to suit your own
personal tastes.
• Because the Rapid Hot Air Technology instantly reheats the air inside the appliance, pulling the Fry Basket briefly
out of the appliance during hot air frying barely disturbs the process.
Tips
• Foods that are smaller in size usually require a slightly shorter cooking time than larger ones.
• Large quantities of food only require a slightly longer cooking time than smaller quantities.
• "Shaking" smaller-sized foods halfway through the cooking process assures that all the pieces are fried evenly.
• Adding a bit of vegetable oil to fresh potatoes is suggested for a crispier result. When adding a little oil,
do so just before cooking.
9
Shaking...
To insure even cooking, some foods require "shaking" during the
cooking process. To do this, simply remove the Outer Basket and
Fry Basket from the Unit... gently shake the contents as needed
and place back in Unit to continue cooking. For heavier foods, you
might want to separate the Fry Basket from the Outer Basket
before shaking. To do this, place the assembled Outer Basket
and Fry Basket on a heat-resistant surface. Move Sliding Button
Guard forward to expose Basket Release Button. Press the
Basket Release Button (top photo) and gently lift the Fry Basket.
Shake ingredients. Place the Fry Basket in the Outer Basket and
return it to the Unit to finish cooking.
Caution:
The Outer Basket will be hot... wear an oven mitt
during this procedure. Never move the Sliding Button Guard while
shaking or you may press the Basket Release Button accidentally.
Tip:
Set the Timer to 1/2 the time needed for the recipe. The Timer
bell will alert you when it's time to "shake."
When you hear the Timer bell, the Preset preparation time has
elapsed. Pull the Outer Basket out of the appliance and place it on
a heat-resistant surface.
To remove ingredients (i.e., fries), place the Outer Basket on a
heat-resistant surface. Move Sliding Button Guard forward. Press
the Basket Release Button (top photo) and lift the Fry Basket
out of the Outer Basket. Turn the Fry Basket over and let the
ingredients fall on a plate. Use nonabrasive utensils to remove
larger foods.
Do not turn the Fry Basket upside down with the Outer Basket still
attached... excess oil that has collected on the bottom of the Outer
Basket will leak onto the food.
When a quantity of food is cooked, the Unit is instantly ready for
preparing another batch. When the cooking cycle is over, you may
begin use again immediately.
Cooking Chart
• Snacks normally cooked in an oven can also be cooked in the Power AirFryer XL
• Use pre-made dough to prepare filled snacks quickly and easily. Pre-made dough also requires a shorter
cooking time than homemade dough.
• Place a baking tin or oven dish in the Fry Basket when baking a cake or quiche. A tin or dish is also
suggested when cooking fragile or stuffed foods.
• You can use the Power AirFryer XL
TM
to reheat foods. Simply set the temperature to 150°C / 300°F for up to 10
minutes.
MIN-MAX
FOOD ITEM
(grams)
Thin Frozen Fries
280 - 700g
280 - 700g
Thick Frozen Fries
Homemade Fries
280 - 760g
Homemade Potato Wedges
280 - 760g
Homemade Potato Cubes
280 - 700g
Hash Browns
230g
Potato Gratin
460g
110g - 500g
Steak
110g - 500g
Pork Chops
110g - 500g
Hamburger
110g - 500g
Sausage Roll
Chicken Drumsticks
110g - 500g
110g - 500g
Chicken Breast
110g - 340g
Spring Rolls
110g - 500g
Frozen Chicken Nuggets
110g - 500g
Frozen Fish Sticks
110g - 500g
Mozzarella Sticks
110g - 500g
Stuffed Vegetables
290g
Cake
340g
Quiche
Muffins
290g
340g
Sweet Snacks
The table above will help you choose the basic settings for the ingredients selected.
*Add 3 minutes to cooking time when starting with a cold appliance.
Note: Keep in mind that these settings are indications. As ingredients differ in origin, size, shape and brand,
we cannot guarantee the best settings for your ingredients.
TM
.
TIME*
TEMP °C / °F
SHAKE
COMMENTS
(minutes)
YES
200 ° C / 400 ° F
15-16
YES
200C / 400 ° F
15-20
YES
Add ½ Tbsp. oil
200 ° C / 400F
10-16
YES
Add ½ Tbsp. oil
18-22
180°C / 340°F
YES
Add ½ Tbsp. oil
180°C / 340°F
12-18
YES
15-18
180°C / 340°F
15-18
200 ° C / 400 ° F
180°C / 340°F
8-12
10-14
180°C / 340°F
7-14
180°C / 340°F
13-15
200 ° C / 400 ° F
180°C / 340°F
18-22
180°C / 340°F
10-15
YES
200 ° C / 400 ° F
Use oven-ready
15-20
YES
200 ° C / 400 ° F
Use oven-ready
10-15
6-10
200 ° C / 400 ° F
Use oven-ready
8-10
180°C / 340°F
Use oven-ready
10
160 ° C / 320 ° F
20-25
160°C / 320°F
Use baking tin
Use baking tin/oven
20-22
180°C / 340°F
dish
Use baking tin
15-18
200 ° C / 400 ° F
Use baking tin/oven
20
160°C / 320°F
dish
10
