Copernicus FTT732 Instrukcja montażu - Strona 16
Przeglądaj online lub pobierz pdf Instrukcja montażu dla Wózek zewnętrzny Copernicus FTT732. Copernicus FTT732 16 stron. Modular cart system
Również dla Copernicus FTT732: Instrukcja montażu (20 strony)
10
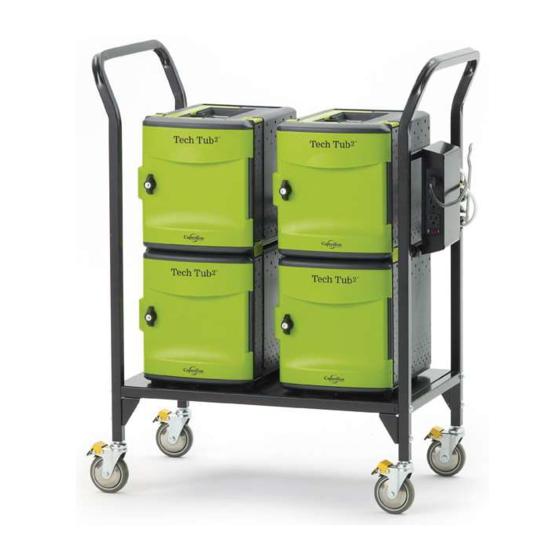
Plug Power Strip From Each Tech Tub Into Power Timer
Route power cables through spring steel cable hook and plug them into the power timer
Note:
To keep the power cables organized keep the excess length of cable wrapped on the back of the Tech Tub .
Ensure that there is enough slack to prevent unnecessary strain on the power cables or power timer.
16
FTT401_718_724_726_732_2023_A - Released January 17, 2023 - Copernicus Educational Products Inc.
UV tub needs to be plugged
into front outlets
2
®