Copernicus Premium STEM Maker Station Instrukcja montażu - Strona 7
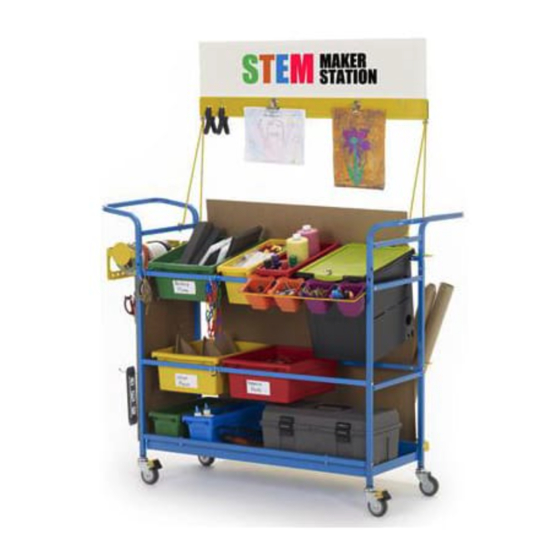
Przeglądaj online lub pobierz pdf Instrukcja montażu dla Wózek zewnętrzny Copernicus Premium STEM Maker Station. Copernicus Premium STEM Maker Station 18 stron. Maker station
Również dla Copernicus Premium STEM Maker Station: Instrukcja montażu (16 strony)
Actual Size:
1
You will need:
Attach Main Frame Handle to Frame
Note the orientation of the
Main Frame Handle to the bowed
back leg of the frame.
Actual Size:
2a
You will need:
Premium Version: Attach Front Stretchers and Peg Board to Frame.
Do not install
hardware here.
7
STEM100_STEM102 - Version B - Released 01 December 2014 - Copernicus Educational Products Inc.
D
2x
(Not to Scale)
(Not to Scale)
Front Stretcher
5x
H
A
H
A
H
A
H
A
H
2x
Main Frame Handle
2x
J
H
D
NOTE: All images will be showing the Premium STEM
Maker Station (STEM100) unless otherwise stated.
A
H
9x
9x
Peg Board
1x
H
H
H
J
2x
Frame
2x
J
H
D
Proceed to Step 2b
if you are assembling
STEM102 (Base)
A
A
A
H
A
The hole on the
A
H
Front Stretchers
should be facing
upwards.