Copernicus Tech Tub2 Instrukcja montażu - Strona 9
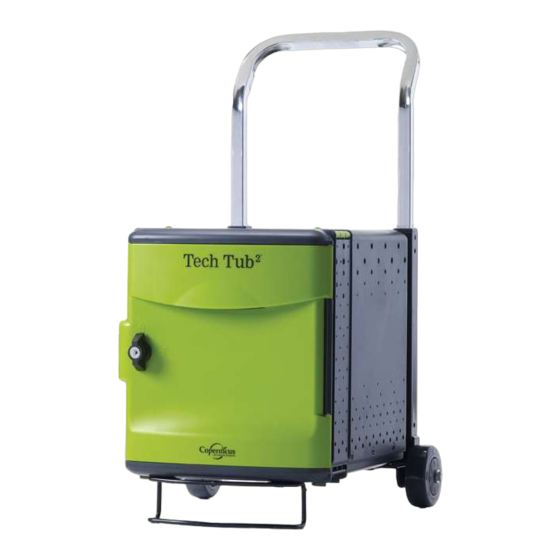
Przeglądaj online lub pobierz pdf Instrukcja montażu dla Wózek zewnętrzny Copernicus Tech Tub2. Copernicus Tech Tub2 16 stron. Modular cart system
Również dla Copernicus Tech Tub2: Instrukcja montażu (16 strony), Instrukcja montażu (14 strony), Instrukcja montażu (2 strony), Instrukcja montażu (20 strony), Instrukcja montażu (13 strony)
Actual Size:
4
C
Hex Bolt - M5 x 15mm
4x
E
M6 Star Washer
8x
Install Power Timer
Fasten mounting bracket to right handle
1
9
H
M5 Thumb Nut
4x
Important electrical
safety component.
E
E
FTT401_718_724_726_732_2023_A - Released January 17, 2023 - Copernicus Educational Products Inc.
You will need: (Not to Scale)
Power Timer
Mounting
Bracket
1x
8mm/10mm Hex
Wrench
1x
Fasten power timer to mounting bracket
2
M6 Star Washer
E
8x
E
C
C
E
C
C
Note:
Ensure the power timer
is mounted in the
correct orientation.
Power Timer
1x
Note:
Power Timer will be shipped
inside one of the Tech Tub boxes
Power Button on Top
Power Cable Socket
on Bottom