Copernicus Tech Tub2 FTT2010-UV Instrukcja montażu - Strona 10
Przeglądaj online lub pobierz pdf Instrukcja montażu dla Wózek zewnętrzny Copernicus Tech Tub2 FTT2010-UV. Copernicus Tech Tub2 FTT2010-UV 11 stron. Trolley with uv tub
You will need: (Not to Scale)
6
FTT706-UV
ONLY
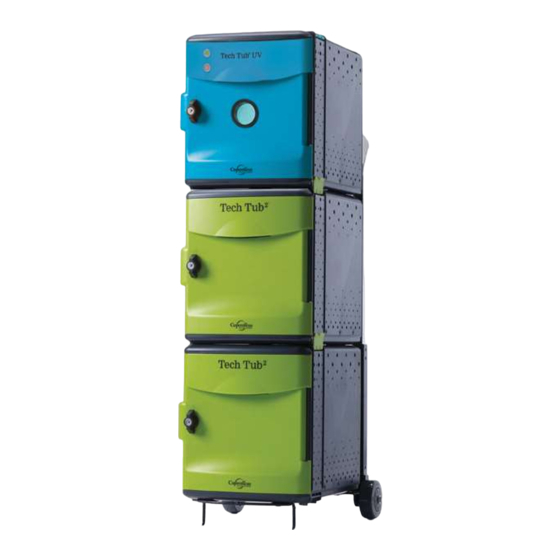
Connect the UV Tech Tub to the 6 Device Tub.
!
Do not connect more than three
®
Tech Tub or UV Tech Tub
2
Before operating the UV Tech
Tub, remove it from the trolley
and place on a surface that is at
least 30" above the floor.
Do not place the UV Tech Tub
on the floor.
This is to prevent accidental
collisions that can cause
damage or injury from impact
and tip over.
10
FTT706-UV_2010-UV_2010-USB-UV - Version A - Released November 23, 2020 - Copernicus Educational Products Inc.
UV Tech Tub
1x
1
Flip up Locking Tab and Open side Flip Locks on 6-device tub
2
Insert back feet of UV Tech Tub into slot on top of 6-device tub
3
Insert front feet of UV Tech Tub into holes on top of
6-device tub
4
Connect tubs using side Flip Locks
Open the front door of UV Tech Tub and slide locking pin
5
through metal tab
6
Close and lock front door of UV Tech Tub to secure
Tech Tub 2 - 6 Device
1x
Trolley Frame
1x