Copernicus RC201 Instrukcja montażu - Strona 6
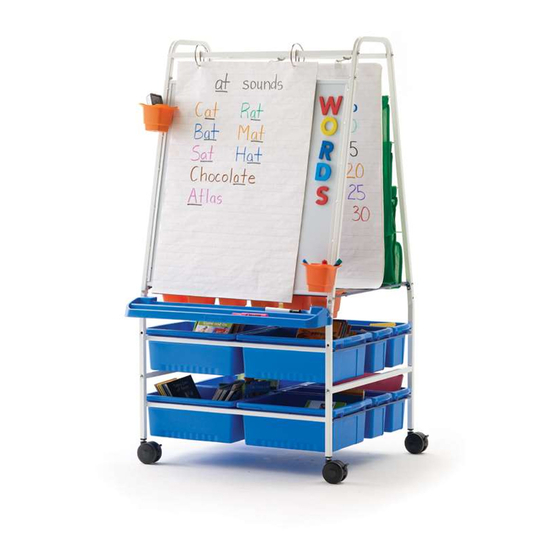
Przeglądaj online lub pobierz pdf Instrukcja montażu dla Sprzęt edukacyjny Copernicus RC201. Copernicus RC201 14 stron. Reading writing center basic reading writing center
Również dla Copernicus RC201: Instrukcja montażu (17 strony)
In case your wedge nut becomes dislodged from the connector, follow these steps to reinstall.
To help keep the wedge nut in place, do not remove the paper cover until you are ready to
1
Actual Size:
1
You will need: (Not to Scale)
Long Stretcher
(718mm)
2x
Build Two Bottom Frames
A
F
6
A
4x
A
F
(Left)
Side View
Connectors
face inward
RC200, RC201 - Version B - Released October 6, 2022 - Copernicus Educational Products Inc.
assemble the connector.
2
Bottom Frame
(Left)
2x
Screws face
toward stretchers
F
4x
Bottom Frame
(Right)
2x
F
A
(Right)
4mm Allen Key
1x
F
A