Copernicus RC200 Instrukcja montażu - Strona 11
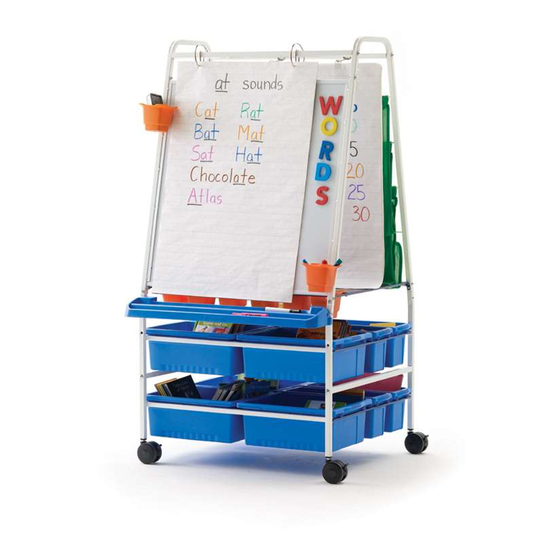
Przeglądaj online lub pobierz pdf Instrukcja montażu dla Tablica Copernicus RC200. Copernicus RC200 17 stron. Reading writing center basic reading writing center
Również dla Copernicus RC200: Instrukcja montażu (14 strony)
You will need: (Not to Scale)
6
RC200
ONLY
Install Back Wire Rods into Holes in A-Frames
Start with the Lowest Hole Position (Hole 5)
1
1
2
2-Person Task
3
4
5
Flex the A-Frames outward at the top to help get the Back Wire Rods Installed.
Installing the first Back Wire Rod may be difficult for some people to do on their own.
Please ask someone to help you with this step.
Actual Size:
7
M6 x 35mm Screw
A
x2
Install Top Stretcher into Top Hole (Hole 1) on the Back Side of the A-Frames
RC201
E
1
A
2
3
4
1
2
3
4
5
M6 Lock Washer
E
x2
E
1
2
3
4
5
RC201_200 - Version B - December 5th, 2016 - Copernicus Educational Products Inc.
Back Wire Rods
x4
Continue From Bottom to Top (4,3,2)
2
1
2
3
4
5
RC200
A
E
1
A
You will need: (Not to Scale)
Stretcher -718mm
x1
2
3
4
1
2
3
4
5
A
E
1
2
3
4
5
11