Copernicus CS7-CLR Instrukcja montażu - Strona 4
Przeglądaj online lub pobierz pdf Instrukcja montażu dla Wyposażenie wnętrz Copernicus CS7-CLR. Copernicus CS7-CLR 7 stron. Clear dry-erase single room divider
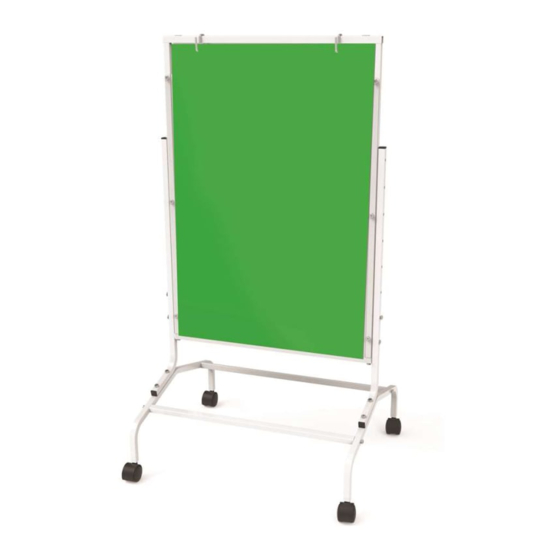
CS7-CLR
Watch for These Helpful Symbols
This symbol denotes a 2 Person Task. For safety, please ensure that there are two people
l
working on steps displaying this symbol
2 Person
Watch for this symbol throughout the Assembly Instructions. Wherever you see it, pay close
l
attention. The symbol denotes a step needing extra attention to ensure it is done correctly.
The Star symbol highlights an advisory note
l
Before You Begin
Layout and identify all of the included parts
l
The hardware has been packed by step
l
Read the assembly instructions over once to familiarize yourself with them
l
Please note that in its unassembled state, this product contains parts that can be a hazard
l
to small children; it should be assembled by an adult.
As You Assemble the Unit
Follow the steps in sequence
l
Before beginning each step, find the part(s) that you need for that step
l
Pay attention to the labeling on the parts, they are there to help direct you at certain stages
l
The title of each step states what you will be doing. Review the text and the pictures as you
l
build the unit.
After Assembly; Before Use
Remove the plastic film from the acrylic panel before writing on it
l
Validate Your Warranty On-Line
Life
2
Time
Year
To validate your warranty submit the ON-LINE form at www.copernicused.com
Frame & Tub
Acrylic
Warranty
Warranty
"The beautiful thing about learning is that no one can take it away from you." - B. B. King
Tips for Assembly - Using this Manual
Don't forget to check out our tips for your acrylic panel at:
www.copernicused.com/help/tips
CS7-CLR - Version A - Released September 22, 2020 - Copernicus Educational Products Inc.