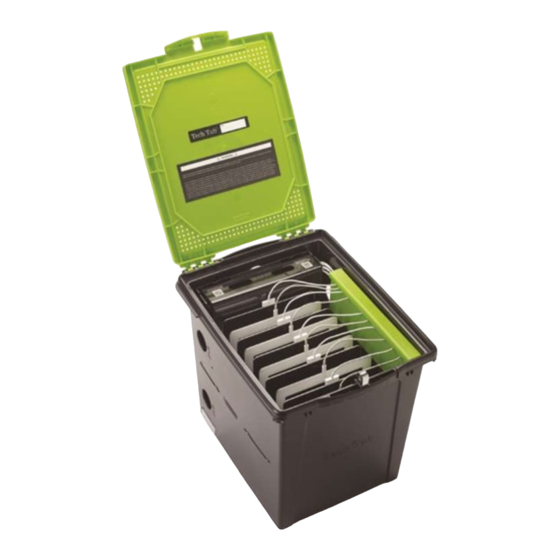
Copernicus Tech Tub Premium Instrukcja montażu - Strona 9
Przeglądaj online lub pobierz pdf Instrukcja montażu dla Ładowarka Copernicus Tech Tub Premium. Copernicus Tech Tub Premium 12 stron.
Również dla Copernicus Tech Tub Premium: Instrukcja montażu (20 strony)
OPTIONAL:
Follow Steps 6 to 8 to install the Tech Tub Locking
Block and Locking Pin System
You will need:
6
Use Template and Drill Holes into Surface
Use positioning template
found at back of these
Assembly Instructions
Maximum thickness of
surface is 2-1/2" (63mm)
Use tape to secure
the positioning template
Actual Size:
7
You will need:
Mount Locking Block
F
H
H
9
(Not to Scale)
Table or Countertop
(Not to Scale)
Allen Key 4mm
1x
Drilled holes from Step 6
TEC700 - Version D - Released December 16, 2014 - Copernicus Educational Products Inc.
Positioning Template (found at back of this guide)
1x
F
M6 x 70mm
2x
Locking Block
1x
Label facing
upwards
H
G
Underside
TM
Use 1/4" or 6mm drill bit
G
M6 Lock Nut
2x
H
M6 Washer
6x
Washer goes
H
INSIDE tube
Table
or
H
G
F
Washer goes
H
UNDER tube
Countertop
Section
View