Copernicus Tech Tub2 Instrukcja montażu - Strona 11
Przeglądaj online lub pobierz pdf Instrukcja montażu dla Ładowarka Copernicus Tech Tub2. Copernicus Tech Tub2 16 stron. Modular cart system
Również dla Copernicus Tech Tub2: Instrukcja montażu (16 strony), Instrukcja montażu (14 strony), Instrukcja montażu (2 strony), Instrukcja montażu (20 strony), Instrukcja montażu (13 strony)
You will need: (Not to Scale)
7
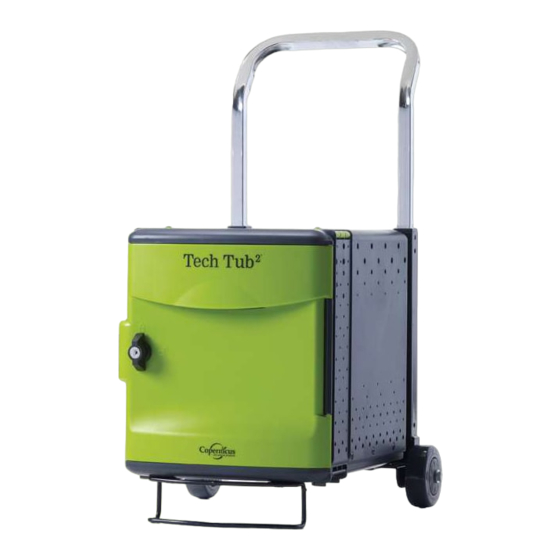
Install Tech Tubs onto cart
Note: Please follow the assembly instructions that accompanied your Tech Tub and UV Tech Tub to get it ready for
installation on the cart.
Lock casters before installing tubs onto cart.
Hook rear feet onto pins on the cart base
1
Lower front of tub onto metal tab on cart base
2
3
Repeat steps 1 and 2 for other side of cart
11
Tech Tub
6 Device
2x
FTT401_718_724_726_732_2023_A - Released January 17, 2023 - Copernicus Educational Products Inc.
®
2
OR
18 Device UV cart (FTT718-UV, FTT718-USB-UV,
FTT718-699-UV)
and
24 Device Cart (FTT724, FTT724-USB, FTT724-699)
26 Device UV cart (FTT726-UV, FTT726-USB-UV,
FTT726-699-UV) and
32 Device Cart (FTT732, FTT732-USB, FTT732-699)
Note: Ensure the 10 Device Tub is always
mounted directly to the cart, not stacked
on top of a 6 Device Tub.
®
Tech Tub
2
10 Device
2x
®
2
Tech Tub
6 Device Tub
2x
OR
Tech Tub
10 Device Tub
2x
Continue on next page...
®
2
®
2