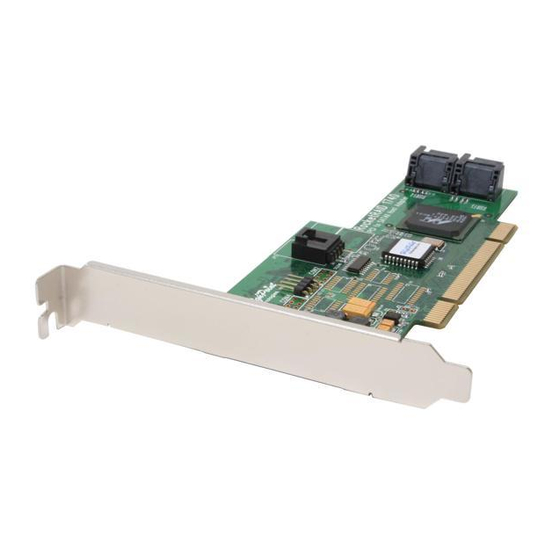
HighPoint RocketRAID 174x Instrukcja instalacji - Strona 7
Przeglądaj online lub pobierz pdf Instrukcja instalacji dla Kontroler HighPoint RocketRAID 174x. HighPoint RocketRAID 174x 8 stron. Sata ii controller

Rocket RAID 174x FreeBSD Installation Guide
Booting [kernel] in 9 seconds...
<-press SPACE key
Type '?' for a list of commands, 'help' for more detailed help.
ok load rr174x
/modules/rr174x.ko text=0xf571 data=0x2c8+0x254
ok autoboot
If you have configured a RAID 1/0 using 4 disks, it will be registered to system as
device /dev/da0. You can use "/stand/sysinstall" to create partitions and disklabels
on da0. Then you can create new filesystem using "newfs /dev/da0s1e". Now
da0s1e)
you can mount /dev/da0s1e to somewhere to access it.
Step 3 Configure System to Automatically Load the Driver
Most likely, you will not want to type "load rr174x" each time you boot up the system.
Therefore you must install the module and tell the system about it. To configure system
to automatically load the driver, type in the following commands:
# echo 'rr174x_load="YES"' >> /boot/defaults/loader.conf
This tells the loader to try loading the RR174x module together with the kernel.
Now, reboot the system. RR174x module should be automatically loaded each time
system start up.
Note
If FreeBSD you installed is 4.x version, you should type the following command to
configure your system:
# mknod /dev/rr174x c 200 0
Then, please check whether node"/dev/rr174x"exists in /dev directory.
Step 4 Configure System to Mount Volumes when Startup
Now you can inform the system to automatically mount the array by modifying the file
/etc/fstab. E.g. You can add the following line to tell the system to mount /dev/da1s1e to
location /mnt/hpt after startup:
/dev/da1s1e
4 Updating the Driver
To update the driver with a new version you simply reinstall the driver following the previous
section, "Install the driver on an existing system".
/mnt/hpt
ufs
rw
0
0
(like
- 5 -
