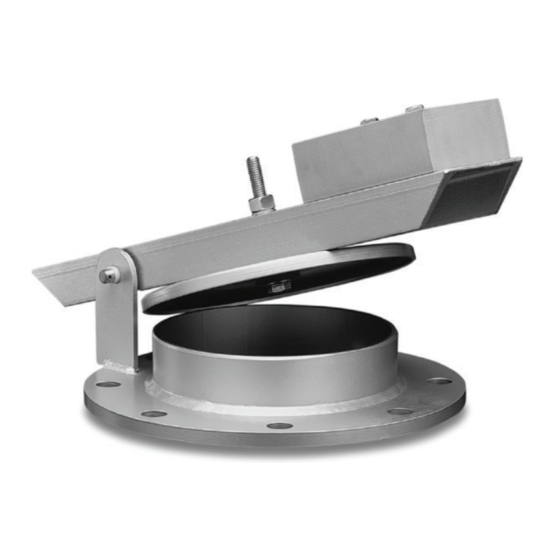
Emerson FISHIER Enardo 2000 Series Instrukcja obsługi - Strona 5
Przeglądaj online lub pobierz pdf Instrukcja obsługi dla Urządzenia przemysłowe Emerson FISHIER Enardo 2000 Series. Emerson FISHIER Enardo 2000 Series 8 stron.

REINFORCEMENT DISK
HINGE EAR
BASE
ASSEMBLY
WEATHER
HOOD
HINGE
BASE
ASSEMBLY
Installation
▲
WARNING
The EPRV Series is shipped with its lid held
partially open. The lid assembly has attached
weights and is heavy. Use caution when
removing the shipping blocks and metal bands
to avoid injury to fingers and hands.
Before installing the relief vent, remove the unit from its
crate and discard any protective coverings. Follow the
instruction below for the installation of the Enardo 2000 and
Enardo 2500 Series.
Install the Enardo 2000 and Enardo 2500 Series on the
flange bolt patterns that match with bolt pattern of the vent.
The attachment flange base should be at level surface.
Enardo 2000 and Enardo 2500 Series
SEAL
SUPPORT
ENARDO 2000 SERIES EMERGENCY PRESSURE RELIEF VENT (EPRV)
GUIDE SLEEVE
VENT ROD
VACUUM
SEAL
VACUUM
PALLET
ENARDO 2500 SERIES EMERGENCY RELIEF VENT WITH VACUUM (EPRV-V)
Figure 7. Enardo 2000 and Enardo 2500 Series Assembly Drawing
CENTER BOLT
ARM
VACUUM SPRING
SEAL
VACUUM
SUPPORT
SEAT
1. Carefully remove the Enardo 2000 and Enardo 2500
Series from its crate. The seal portion of the vents is
delicate, protect this surface while handling the unit.
2. Place the appropriate gasket on the level attachment flange
and center the vent into place.
3. Insert the appropriate number of bolts and make sure the
vent is fastened securely. Installed bolts should be clear of
the lid assembly when it is in the full open position.
4. Inspect the installed unit from items that would keep it
from working properly. The sealing area should be free of
any debris that would cause leakage. The arm of the vent
should be able to fully open.
VENT COVER
PRESSURE SEAL
ARM
VENT COVER
PRESSURE SEAL
5
