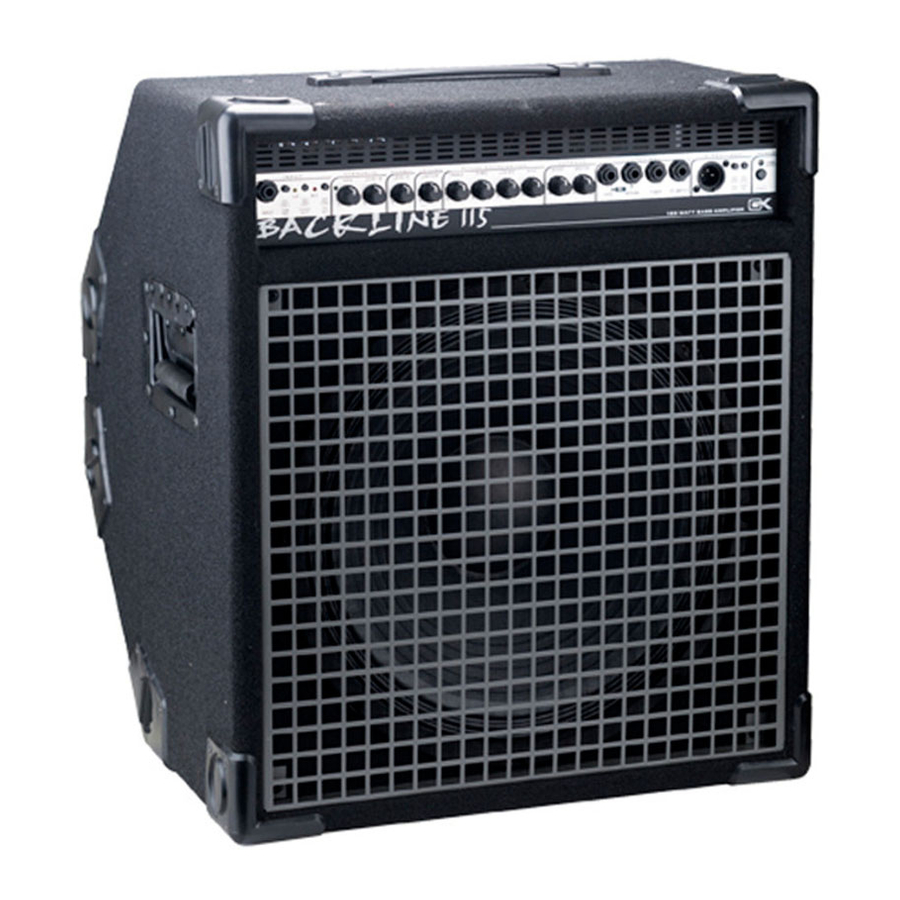
Gallien-Krueger Backline 110 Instrukcja obsługi - Strona 7
Przeglądaj online lub pobierz pdf Instrukcja obsługi dla Wzmacniacz Gallien-Krueger Backline 110. Gallien-Krueger Backline 110 12 stron. Backline series
Również dla Gallien-Krueger Backline 110: Instrukcja obsługi (16 strony)

1
2 3
15
Front Panel Controls
Front Panel Controls
Front Panel Controls
Front Panel Controls
Front Panel Controls
A standard ¼" input jack.
1-Input:
1-Input:
1-Input:
1-Input:
1-Input:
Press in for active basses.
2--10dB Pad:
2--10dB Pad:
2--10dB Pad:
2--10dB Pad:
2--10dB Pad:
Switches between the overdrive
3-Channel A/B Switch:
3-Channel A/B Switch:
3-Channel A/B Switch:
3-Channel A/B Switch:
3-Channel A/B Switch:
channel and the normal channel. Can be activated with an
optional footswitch.
Controls the amount of overdrive in the "B"
4-Gain:
4-Gain:
4-Gain:
4-Gain:
4-Gain:
channel. At low settings it provides a smooth distorted
sound. At high levels it will provide full saturation with
long sustain.
Adjusts the output level of the Overdrive
5-Level-B:
5-Level-B:
5-Level-B:
5-Level-B:
5-Level-B:
channel.
6-Level-A:
6-Level-A:
6-Level-A: Sets preamp gain after the input stage.
6-Level-A:
6-Level-A:
Cuts the mid-range frequencies while boosting
7-Contour:
7-Contour:
7-Contour:
7-Contour:
7-Contour:
lows & highs.
Boost and cut at 7kHz+14dB shelving type. Add
8-T
8-T
reble:
reble:
8-T
8-Treble:
8-T
reble:
reble:
or remove edge and definition.
Boost and cut at 250Hz +6dB -10dB, "Q Opti-
9-Mid:
9-Mid:
9-Mid:
9-Mid:
9-Mid:
mized," band pass type. Works on the main body of your
sound.
Boost and cut at 60Hz +10dB, shelving type.
10-Bass:
10-Bass:
10-Bass:
10-Bass:
10-Bass:
Controls low end punch.
B B B B B A C K
A C K
A C K
A C KLINE 110 & 112
LINE 110 & 112
LINE 110 & 112
LINE 110 & 112
A C K
LINE 110 & 112
4
5
6
7
8
16
17
18
9
10
11
12
13
19
Controls output level of the amplifier.
11-Master:
11-Master:
11-Master:
11-Master:
11-Master:
Use to plug in a CD player of a second instrument
12-Mix:
12-Mix:
12-Mix:
12-Mix:
12-Mix:
for teaching.
¼" Jack for insertion of standard single pole foot
13-A/B:
13-A/B:
13-A/B:
13-A/B:
13-A/B:
switch. It Switches from channel "A" to "B". The "A/B"
switch must be out for this function to operate.
14-Power/Protect LED:
14-Power/Protect LED:
14-Power/Protect LED:
14-Power/Protect LED:
14-Power/Protect LED:
while the amp powers up then turns green when the amp is
ready. Should the amp experience a fault (over heat, over
current) The amp will mute and this LED will go red until
the condition is corrected.
Rear Panel Controls
Rear Panel Controls
Rear Panel Controls
Rear Panel Controls
Rear Panel Controls
Turns the amplifier on or off.
15-Power Switch:
15-Power Switch:
15-Power Switch:
15-Power Switch:
15-Power Switch:
Standard IEC receptacle.
16-AC Input:
16-AC Input:
16-AC Input:
16-AC Input:
16-AC Input:
Sends a line level signal for use with a direct
17-Line Out:
17-Line Out:
17-Line Out:
17-Line Out:
17-Line Out:
box or to a second amplifier.
When using headphones, unplug the speaker
18-Phones:
18-Phones:
18-Phones:
18-Phones:
18-Phones:
cable from the back of the amplifier.
It delivers 70 watts into 8 Ohms. Lower
19-Speaker Out:
19-Speaker Out:
19-Speaker Out:
19-Speaker Out:
19-Speaker Out:
impedances should not be used. Impedances higher than
8 Ohms are acceptable. No damage will result from
operating the amplifier with the speakers disconnected.
7
14
The LED turns red for five seconds
