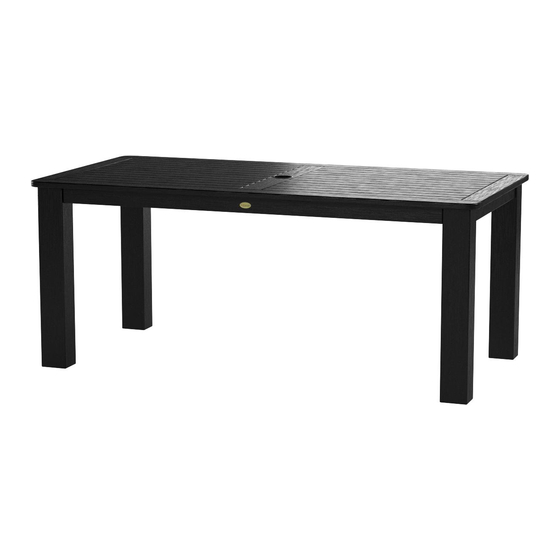
highwood AD-DTB44 Instrukcja montażu - Strona 3
Przeglądaj online lub pobierz pdf Instrukcja montażu dla Wyposażenie wnętrz highwood AD-DTB44. highwood AD-DTB44 3 stron. Rectangular, square, or sideboard tables
Również dla highwood AD-DTB44: Instrukcja montażu (3 strony), Instrukcja montażu (2 strony), Instrukcja montażu (4 strony), Instrukcja montażu (4 strony)

Weatherly Collection
Dining Chair with Arms
Assembly Guide
ALIGN ANGLES OF
BACK AND SEAT
SEAT
1
1) Attach Chair Back
to Seat Using One
"A" Bolt in the Upper
Hole on Each Side.
highwood
NATURE'S CLOSEST RIVAL
BACK
A
A
B
SEAT
2) Attach Arm
Assembly to Seat
Using Two "B" Bolts in
Front and One "C" Bolt
in Rear. Attach Arm to
Back Using One "A"
Bolt.
For information on Care and Cleaning or to register your
highwood product, please visit www.highwood-usa.com.
ARM ASSEMBLY
BACK
A
C
3) Repeat Step 2 on Other
Side.
HARDWARE
A
1/4"-20 X 1.5"
B
1/4"-20 X 2"
C
1/4"-20 X 3"
IMPORTANT!
DO NOT fully tighten the bolts until all
bolts are started. Once all bolts are inserted,
go back & tighten all the bolts.
Retain these instructions for future reference
INCLUDED TOOLS
5/32" HEX KEY
x4
x4
x2
CHDW2
10.30.18
PAGE 1 OF 1
