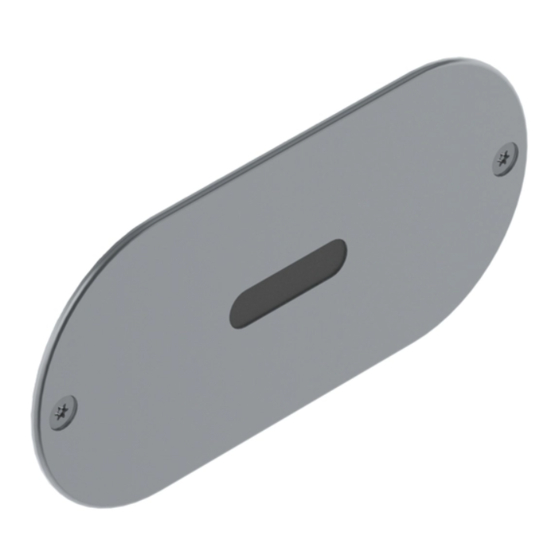
Galvin Engineering Flowmatic TZ-IQWAVEB Instrukcja instalacji produktu - Strona 3
Przeglądaj online lub pobierz pdf Instrukcja instalacji produktu dla Akcesoria Galvin Engineering Flowmatic TZ-IQWAVEB. Galvin Engineering Flowmatic TZ-IQWAVEB 6 stron. Wave on activated concealed sensor with solenoid, battery powered

Version 2, 8 April 2020, 3 of 6
INSTALLATION
INSTALLATION COMPLIANCE: Galvin Specialised products must be installed in accordance with these installation
instructions and in accordance with AS/NZS 3500, the PCA and your local regulatory requirements. Water and/or electrical
supply conditions must also comply to the applicable national and/or state standards. Failing to comply with these provisions
shall void the product warranty and may affect the performance of the product.
Anchor
Point
Water In
1. Fit solenoid
− Before installation, all lines must be flushed. We
recommend that a line strainer be installed prior
to the solenoid to eliminate any foreign material.
− Ensure the solenoid is mounted using the 2
anchor points shown and is in a suitable
location.
−
Connect mains water and the outlet using
thread tape/sealant.
3. Fit connections and test
−
The extension cable can be used for either the battery or the solenoid.
−
Connect the solenoid to either of the male connections on the rear of the sensor and the battery to the female
connection (as shown).
−
Remove label covering the sensor.
−
Start sensor; Refer to the following section – Sensor Setting Instructions
−
Check for any leaks and correct operation
Water
Out
Face Plate Rear View
2. Fit faceplate
− Before fitting the faceplate refer to the Dimensions
section to ensure a suitable location has been selected
for correct operation.
− Fit the supplied wall plugs following the Dimensions
section.
− Ensure the faceplate is orientated correctly. On the rear
of the face plate (pictured) is a sticker indicating the
correct orientation.
− Fit and secure the faceplate using the supplied screws
and tool.
Do not remove the black label covering the
sensor until the tap is to be commissioned.
.
Version 1, 25
th
March 2020 Page 3 of 6
