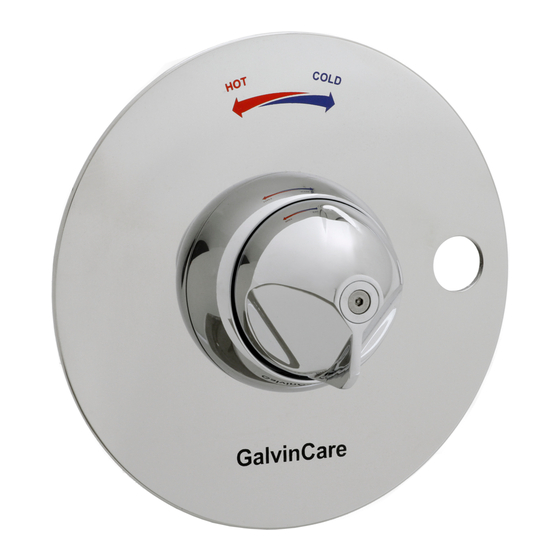
Galvin Specialised GalvinCare 50197 Instrukcja instalacji produktu - Strona 2
Przeglądaj online lub pobierz pdf Instrukcja instalacji produktu dla Produkt hydrauliczny Galvin Specialised GalvinCare 50197. Galvin Specialised GalvinCare 50197 4 stron. Mental health tapware

INSTALLATION
IMPORTANT: Galvin Specialised products must be installed in accordance with these installation instructions
and in accordance with AS/NZS 3500, the PCA and your local regulatory requirements. Water and/or electrical
supply conditions must also comply to the applicable national and/or state standards. Failing to comply with
these provisions shall void the product warranty and may affect the performance of the product.
1. Fit body assembly
Secure body with mounting brackets as indicated, ensure
it is protruding past the finished wall between 6mm
minimum and 16mm maximum.
Brackets are suitable for horizontal and vertical mounting.
It is critical that the centre line of the cartridge spindle is
perpendicular to the finished wall to ensure correct fitment
of the faceplate and flange.
3. Fit faceplate & flange
Fit supplied o-ring into groove on the back of the flange.
Fit faceplate on to shoulder of flange.
Fit the switch (not supplied) to faceplate.
2. Connect water supply
Connect water supply to correct inlets as
shown, ensure a suitable sealing
compound is used
Connect correct outlet connection to
shower outlet.
Note: Water supply should be flushed before
fitting. The use of in-line strainers is highly
recommended.
4. Secure flange
Slide faceplate and flange onto the body.
Secure with three M4 cap screws and lock
washers, ensure the faceplate anti-rotation
pin to be pushed through the 6.5mm
hole.
