AFL Hyperscale 6RU Instrukcja instalacji - Strona 12
Przeglądaj online lub pobierz pdf Instrukcja instalacji dla Sprzęt komputerowy AFL Hyperscale 6RU. AFL Hyperscale 6RU 16 stron. Front-access v-panel
Również dla AFL Hyperscale 6RU: Instrukcja instalacji (12 strony), Instrukcja instalacji (20 strony)
Cable Installation
Cable Fiber
Slack Loop
Cable Braid
Cable
Tie-Off Point
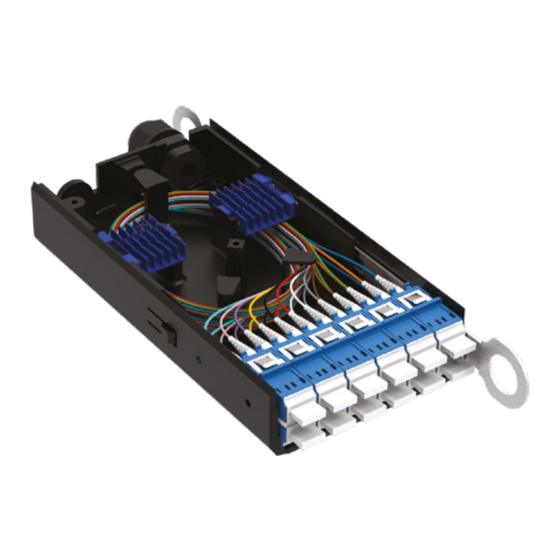
Cassette
Identi cation
Labels
25.
Splice Tray 1 (BOTTOM): Tie off cable braid to splice tray. Starting with internal pigtail #1
ber (GREEN), place splice protector into
Cable Fiber
Slack Loop
Cable Braid
Cable
Tie-Off Point
Splice Tray 2 (TOP): Tie off cable braid to splice tray. Starting with internal pigtail #7
26.
ber (GREEN), place splice protector into
12
© AFL Hyperscale. All rights reserved
Splice Tray 1
(Bottom Tray)
YELLOW
YELLOW
holder. Coil ber in suggested route shown.
Splice Tray 2
(Top Tray)
holder. Coil ber in suggested route shown.
Internal SWR
®
Pigtail
Fiber Slack Loop
(Pre-Installed)
Tail
Identi cation
Labels
(RED),
splice to cable
Internal SWR Pigtail
Fiber Slack Loop
(Pre-Installed)
Tail
Identi cation
Labels
Cassette
Identi cation
Labels
(RED),
splice to cable
Series