Gama Sonic GS-94P Instrukcja obsługi - Strona 5
Przeglądaj online lub pobierz pdf Instrukcja obsługi dla Oświetlenie zewnętrzne Gama Sonic GS-94P. Gama Sonic GS-94P 6 stron. Solar lamp post
GS-94D and GS-94T
NOTE: The following steps are for reference only. Consult your local
hardware store for the best installation method foryour particular surface.
1. Do steps 1 to 5 as described in models GS-94L and GS-94D.
2. Insert part (K) into part (B) as shown in Fig. 5.
3. Screw part (D) into part (B) using the screws (C) provided and screw
the top cup as shown in Fig. 6 . Repeat these steps twice in model GS-
94D and 3 times in model GS-94T.
4. Screw part (A) twice in model GS-94D, 3 times in model GS-94T as
shown in Fig. 7, and screw the whole top into part (B).
5. Turn the On/Off switch in the lamp head (A) to ON position according
Fig. 4 and 5.
6. Be sure to place your lamp post in a spot where it can receive
maximum sunlight throughout the day. It will turn on automatically at
night.
NOTE: The solar light must be charged for two sunny days for best results.
.
5
Fig
Fig. 7
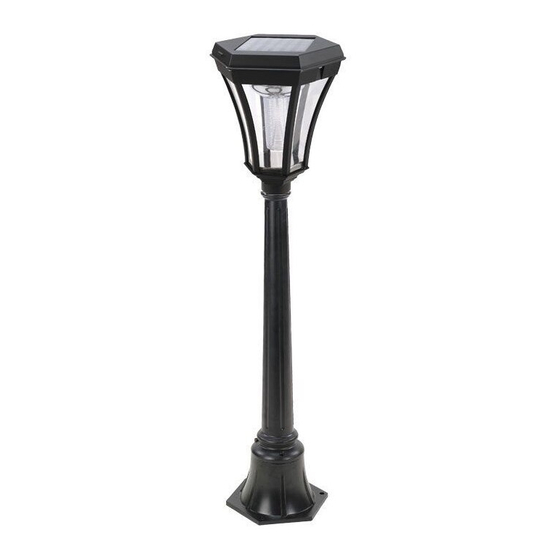
GS-94W, GS-94P and GS-94F
Screw part (A) into Part (B) and turn the On/Off switch in the lamp head (A)
to ON position according Fig. 4 and 5.
Fig. 6
Fig. 8