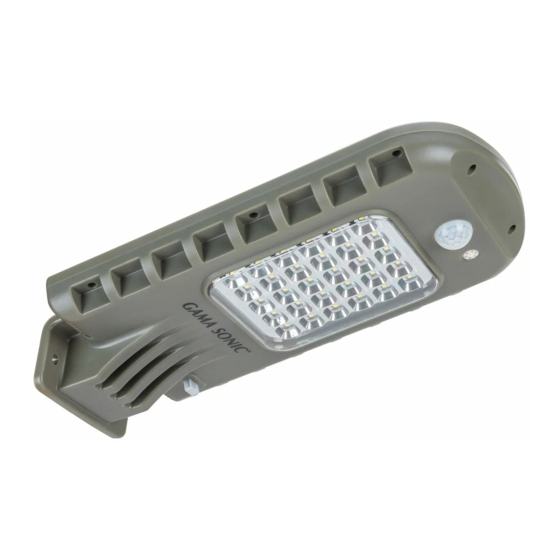
Gama Sonic 101iST60822 Instrukcja obsługi - Strona 3
Przeglądaj online lub pobierz pdf Instrukcja obsługi dla Latarnia Gama Sonic 101iST60822. Gama Sonic 101iST60822 4 stron. 6w solar area light with motion sensing and timer

Possible places to install the 101iST60822:
• Outside Garage • House Entryway • Patios • Garden • Driveway
• Camping Site • Rural Street • Farm • Green Belts • Square
Solar Lamp Location
For optimum light duration throughout the night, it is very important to mount your solar lamp
in a spot where it will receive the maximum amount of direct sunlight throughout the day.
Post Mount:
Assemble hardware to fixture housing as
shown in the image (make sure the curved side
of the mount faces in). Slide fixture over light
post so the curved side of the mount hugs the
light pole. Adjust the light to the desired height
and position. Then tighten the two bolts.
CAUTION: DO NOT OVERTIGHTEN SCREWS
25 – 40 feet
Fig. 2
Advice: ideal pole height: 6.5 – 13 feet; ideal pole diameter: 2 inches.
If multiple lights are purchased install between 25-40 feet apart for optimal light spread.
Surface Mount:
Make sure the alignment of your mounting
location is level and even for your solar light
installation. Drill two holes into your desired
installation surface using the lamp as a
template and place anchors in to the holes.
Position the two provided screws through
the holes of the lamp and into the anchors.
Tighten the screws to secure the lamp to the
surface.
page 3
25 – 40 feet
25 – 40 feet
Note: There are specific types of screws
for different surfaces. If you're unsure of
the appropriate type of screw to use on
your desired surface, please consult a
professional.
Fig. 1
