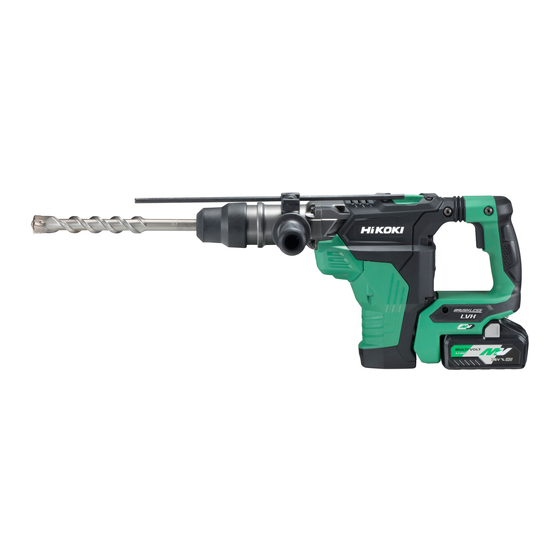
HIKOKI DH 36DMA Instrukcja obsługi Instrukcja obsługi - Strona 12
Przeglądaj online lub pobierz pdf Instrukcja obsługi Instrukcja obsługi dla Elektronarzędzie HIKOKI DH 36DMA. HIKOKI DH 36DMA 20 stron.

4. Disconnect the charger's power cord from the
receptacle.
5. Hold the charger fi rmly and pull out the battery.
NOTE
Be sure to pull out the battery from the charger after use,
and then keep it.
Regarding electric discharge in case of new batteries,
etc.
As the internal chemical substance of new batteries and
batteries that have not been used for an extended period
is not activated, the electric discharge might be low when
using them the fi rst and second time. This is a temporary
phenomenon, and normal time required for recharging
will be restored by recharging the batteries 2 – 3 times.
How to make the batteries perform longer.
(1) Recharge the batteries before they become completely
exhausted.
When you feel that the power of the tool becomes
weaker, stop using the tool and recharge its battery.
If you continue to use the tool and exhaust the electric
current, the battery may be damaged and its life will
become shorter.
(2) Avoid recharging at high temperatures.
A rechargeable battery will be hot immediately after
use. If such a battery is recharged immediately after
use, its internal chemical substance will deteriorate, and
the battery life will be shortened. Leave the battery and
recharge it after it has cooled for a while.
CAUTION
○ If the battery is charged while it is heated because
it has been left for a long time in a location subject to
direct sunlight or because the battery has just been
used, the charge indicator lamp of the charger lights
for 0.3 seconds, does not light for 0.3 seconds (off for
0.3 seconds). In such a case, fi rst let the battery cool,
then start charging.
○ When the charge indicator lamp fl ickers (at 0.2-second
intervals), check for and take out any foreign objects in
the charger's battery connector. If there are no foreign
objects, it is probable that the battery or charger is
malfunctioning. Take it to your authorized Service Center.
○ Since the built-in micro computer takes about 3 seconds
to confi rm that the battery being charged with
UC18YSL3 is taken out, wait for a minimum of 3 seconds
before reinserting it to continue charging. If the battery
is reinserted within 3 seconds, the battery may not be
properly charged.
MOUNTING AND OPERATION
Action
Removing and inserting the battery
Charging
Remaining battery indicator
Inserting SDS-max tools
Removing SDS-max tools
Changing tool direction
Selecting the operating mode
Install the stopper
Switching on and off
Speed change*
1
Using taper shank adapter
Removing taper shank adapter
Mounting core bit
Mounting guide plate and center pin
Cleaning of the battery installation
compartment
Charging a USB device from a
electrical outlet
Charging a USB device and battery
from a electrical outlet
How to recharge USB device
When charging of USB device is
completed
Selecting accessories*
*1 When drilling fragile materials, or when conducting
NOTE
○ Rotation speed cannot be adjusted until a battery is
○ While the tool's motor is operating, rotation speed cannot
*2 For detailed information regarding each tool, contact a
Operate this Rotary Hammer by utilizing its own weight. The
performance will not be better even if it is pressed or thrust
forcibly against the work surface.
Hold this Rotary Hammer with a force just suffi cient to
counteract the reaction.
CAUTION
Warming up (Fig. 16)
CAUTION
Figure
Page
2
2
3
2
4
2
5
3
6
3
7
3
8
3
9
3
10
4
11
4
12
4
12
2
chipping operations or alignment operations, change the
tool's rotation speed in accordance with the task by using
the rotation speed selector switch.
installed to the power tool and the switch has been
triggered once.
be adjusted by pressing the rotation speed selector
switch.
To adjust rotation speed, switch off the tool. Once the
motor has stopped, press the rotation speed selector
switch to adjust the speed.
HiKOKI authorized service center.
After long time of use, the cylinder case becomes hot.
Therefore, be careful not to burn your hands.
The grease lubrication system in this unit may require
warming up in cold regions.
Position the end of the bit so makes contact with the
concrete, turn on the switch and perform the warming
up operation. Make sure that a hitting sound is produced
and then use the unit.
When the warming up operation is performed, hold the
side handle and the main body securely with both hands
to maintain a secure grip and be careful not to twist your
body by the jammed drill bit.
13
5
14
5
15
5
17
5
18-a
6
18-b
6
19
6
20
6
―
17 – 19
