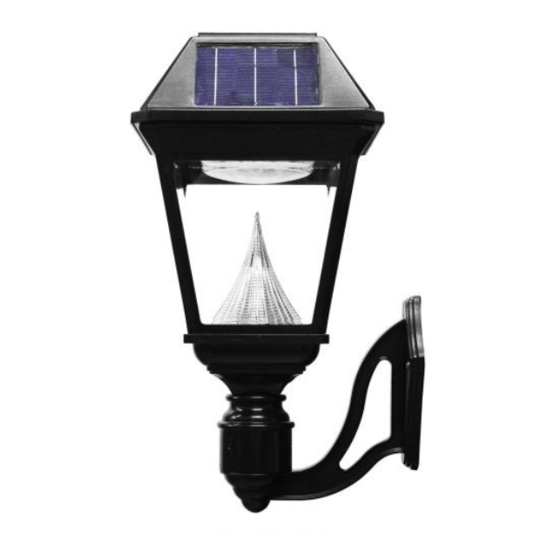
Gama Sonic GS-97NF3 Instrukcja obsługi - Strona 3
Przeglądaj online lub pobierz pdf Instrukcja obsługi dla Latarnia Gama Sonic GS-97NF3. Gama Sonic GS-97NF3 5 stron.

Assembly Instructions
GS-97NF
Place Lamp Part (A) on top of your existing 3" round post and
tighten the 3 screws provided to secure the lamp.
GS-97NF2/GS-97NF3:
1. First remove screws from center
2. Attach arm(s) using these screws;
3. Place center support (C) on top of
4. Place lamps (A) onto the arms and
GS-97NW
NOTE: locate your solar lamp facing the south for best results.
1. Use electric drill to make two holes in the wall
2. Place provided screw anchors into the holes
3. Place the wall bracket (N) in line with the holes and screw
on with the provided screws.
4. Place Lamp (A) onto bracket and secure with the 3 screws
provided.
support (C) and the screw from the
back of the arm (B).
the silver screw will need to be
attached from the inside of the
center support (C).
your existing pole and tighten
screws (H).
secure with screws (F).
3
