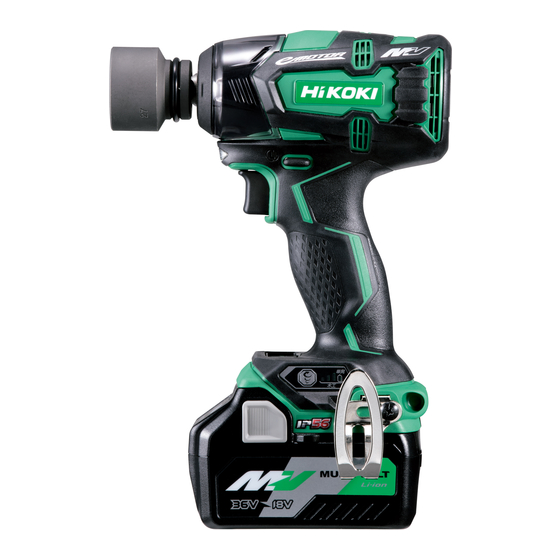
HIKOKI WR 36DC Instrukcja obsługi Instrukcja obsługi - Strona 10
Przeglądaj online lub pobierz pdf Instrukcja obsługi Instrukcja obsługi dla Elektronarzędzie HIKOKI WR 36DC. HIKOKI WR 36DC 17 stron.

CHARGING
Before using the power tool, charge the battery as follows.
1. Connect the charger's power cord to the receptacle.
When connecting the plug of the charger to a receptacle,
the pilot lamp will blink in red (At 1- second intervals).
2. Insert the battery into the charger.
Firmly insert the battery into the charger as shown in
Fig. 2 (on page 2).
Before
charging
While
charging
Charge
indicator
lamp
(RED /
BLUE /
Charging
GREEN /
complete
PURPLE)
Overheat
standby
Charging
impossible
(2) Regarding the temperatures and charging time of the rechargeable battery
The temperatures and charging time will become as shown in Table 2.
Type of battery
Temperatures at which the
battery can be recharged
Charging voltage
Battery
Charging time,
approx. (At 20°C)
Charging voltage
USB
Charging current
NOTE
The recharging time may vary according to the ambient
temperature and power source voltage.
4. Disconnect the charger's power cord from the
receptacle.
Indications of the charge indicator lamp
Lights for 0.5 seconds. Does not light for
Blinks
0.5 seconds. (off for 0.5 seconds)
(RED)
Lights for 0.5 seconds. Does not light for
Blinks
1 second. (off for 1 second)
(BLUE)
Lights for 1 second. Does not light
Blinks
for 0.5 seconds. (off for 0.5 seconds)
(BLUE)
Lights
Lights continuously
(BLUE)
Lights continuously
Lights
(GREEN)
(Continuous buzzer sound: about 6
seconds)
Lights for 0.3 seconds. Does not light for
Blinks
0.3 seconds. (off for 0.3 seconds)
(RED)
Lights for 0.1 seconds. Does not light for
0.1 seconds. (off for 0.1 seconds)
Flickers
(PURPLE)
(Intermittent buzzer sound: about 2
seconds)
Charger
V
BSL14xx series
(4 cells)
BSL1415S : 15
BSL1415 : 15
BSL1415X : 15
min.
BSL1420 : 20
BSL1425 : 25
BSL1430C : 30
V
A
3. Charging
When inserting a battery in the charger, the charge
indicator lamp will blink in blue.
When the battery becomes fully recharged, the charge
indicator lamp will light up in green. (See Table 1)
(1) Charge indicator lamp indication
The indications of the charge indicator lamp will be as
shown in Table 1, according to the condition of the
charger or the rechargeable battery.
Table 1
Table 2
UC18YSL3
0°C – 50°C
14.4
(8 cells)
(5 cells)
BSL1815S : 15
BSL1430 : 20
BSL1815 : 15
BSL1440 : 26
BSL1815X : 15
BSL1450 : 32
BSL1820 : 20
BSL1460 : 38
BSL1825 : 25
BSL1830C : 30
5. Hold the charger fi rmly and pull out the battery.
NOTE
Be sure to pull out the battery from the charger after use,
and then keep it.
10
Plugged into power source
Battery capacity at less than 50%
Battery capacity at less than 80%
Battery capacity at more than 80%
Battery overheated. Unable to
charge. (Charging will commence
when battery cools)
Malfunction in the battery or the
charger
Li-ion
18
BSL18xx series
(10 cells)
BSL1830 : 20
BSL1840 : 26
BSL1850 : 32
BSL1860 : 38
5
2
Multi volt
series
(10 cells)
BSL36A18 : 32
