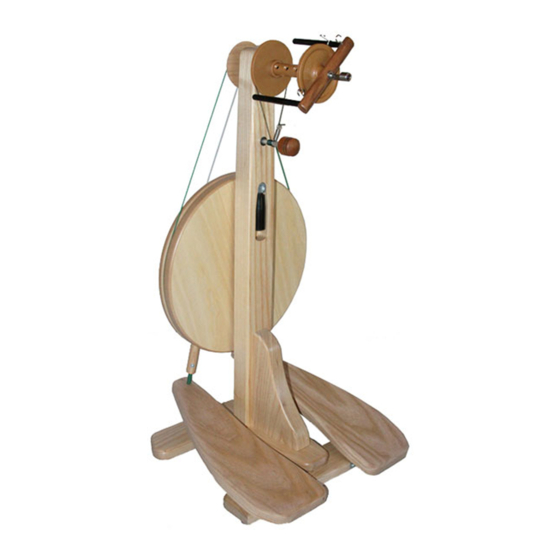
Majacraft Pioneer X Podręcznik - Strona 8
Przeglądaj online lub pobierz pdf Podręcznik dla Wirujące koła Majacraft Pioneer X. Majacraft Pioneer X 11 stron.

7. Conrods to Pedals
Required:
2 - Gold 25mm (1") screws (in the hardware bag)
Posidrive screwdriver
The green joiners have already been put in place in the wooden conrods. Place the wheel in front
of you so the crank and drive wheel are facing you.
We will start with the pedal on your left hand side. Select the conrod that is CLOSEST to YOU. It is
on the end of the curved arm and is attached to the crank assembly with the special right angle
rod end connector. Push the green joiner into the hole at the end of the pedal on your left until it
protrudes by about 2mm. Screw the 25mm gold screw into the hole on the side of the pedal so it
holds the green joiner in place.
Now work on the pedal on your right. Obviously there will only be one available conrod now. The
one that is CLOSEST to the DRIVE WHEEL. Push the green joiner through the hole in the pedal
end into the right hand pedal. It should protrude through the bottom of the pedal about 5mm.
Check the alignment of the rod end in the crank assembly as shown in the images below. You may
need to twist the green joiner in the pedal to correct the alignment. When the rod end is aligned
correctly - parallel with the face of the drive wheel - screw the 25mm screw into place. The screw
should only be tightened until the head just touches the side of the pedal. DO NOT OVERTIGHTEN!
7a
8
7b
7c
majacraft
