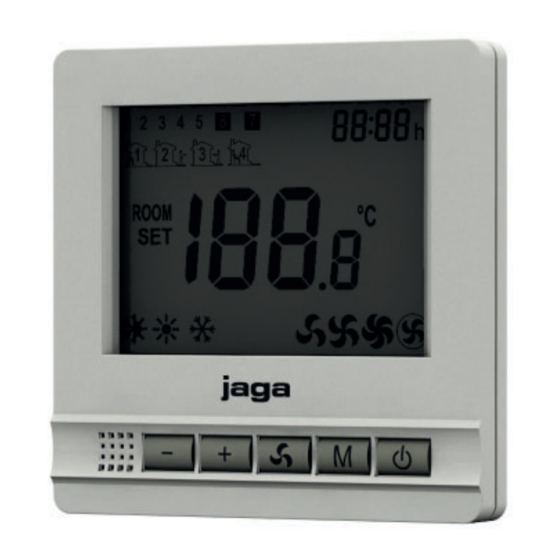
Jaga JRT-100 Instalacja, ustawienia i użytkowanie - Strona 14
Przeglądaj online lub pobierz pdf Instalacja, ustawienia i użytkowanie dla Klimatyzator Jaga JRT-100. Jaga JRT-100 16 stron.
Również dla Jaga JRT-100: Instalacja, konfiguracja i instrukcja obsługi (4 strony), Instalacja, konfiguracja i instrukcja obsługi (4 strony), Instalacja, ustawienia i użytkowanie (17 strony), Instalacja, ustawienia i użytkowanie (4 strony)
INSTALLATION
Important info : Make sure the electrical supply system complies with current National safety regulations.
6
Mount a flush mounting box with screw holes at
a 60 mm distance from the center.
1
2
3
4
5
6
7
Connect the device electrically.
CONNECTION DIAGRAM
Always use the main disconnect switch to isolate the unit from the mains before carrying out any maintenance or inspection work.
2-PIPE CONNECTION
1
2
3
4
5
H/C
4.6
1.5
Carefully remove the front panel
8
9
Attach the thermostat to the flush-mounted box
with two screws. Do not over tighten.
+
24V DC
-
230 VAC
L1
N
6
7
8
9
L
N
Heating / Cooling
1
2
+ -
H
Carefully turn the front panel away from the rear
panel.
Put the front panel back in place
4-PIPE CONNECTION
3
4
5
6
7
8
9
Heating
C
+
24V DC
-
230 VAC
L1
N
L
N
+ -
Cooling