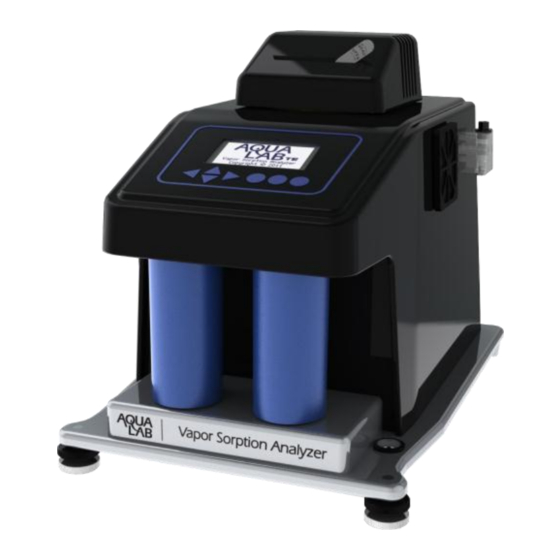
Decagon AquaLab Skrócona instrukcja obsługi - Strona 2
Przeglądaj online lub pobierz pdf Skrócona instrukcja obsługi dla Przyrządy pomiarowe Decagon AquaLab. Decagon AquaLab 6 stron. Vapor sorption analyzer

V S A Q u i c k S t a r t G u i d e
1. Getting Started—
• Place AquaLab VSA on a flat surface. Use the bubble level
(Figure 1: Adjustment and bubble level) and use the
adjustable feet to level the instrument. The small rubber
feet on the back of the lower plate are to prevent tip-over
and do not need to be touching the table.
• Use AquaLab VSA where environmental temperature and
humidity remain fairly stable.
Adjustment feet:
Two on front and one
on the middle back.
Figure 1: Adjustment and bubble level.
• The AquaLab VSA needs to be on a stable platform and
evaluated to verify shipping did not damage the scale
performance. To test scale stability:
1. Turn on VSA and allow instrument to warm up
for 2 hours.
2. Navigate to the diagnostics screen in the
Configuration menu and press .
3. Scroll down to the screen that shows the weight.
Readings should vary no more than 0.1 mg.
"Loop" highlighted to toggle between on and off.
Turning loop on causes the isotherm to automatically
return to the start
the final
both an adsorption and desorption curve (or vice versa
depending on the starting direction).
• After setting up all stages, press the next arrow button. A
message comes up to make sure the water is full and check
the blue desiccant level in preparation for the test.
Press to continue.
• Follow the message on the screen to place an empty
stainless steel cup in the chamber and seal it. Press to
tare the cup.
• Follow the message on the screen to place the sample in
the cup and press to weight the sample.
• Press to begin the test.
5. Running a water activity test—
isotherm test is running)
Bubble Level
• Remove the weighing pan.
• Press until you are at the Measurement screen (2nd tab).
Lower Block
Move latch left and/or press to start a reading. The
pinwheel will spin indicating a measurement is running.
• The
display when finished.
• To change between dew point and capacitive readings,
you will need to toggle the Volatiles Yes/No option in
the Configuration menu.
Volatiles = Yes g Capacitive Sensor
Volatiles = No g Dew Point Sensor
a
(with the same settings) once
w
a
has been achieved. This would create
w
•
The delete entry is used to remove an unwanted stage.
a
reading for the sample and the temperature will
w
Note: Accuracy changes to +/- 0.02 when volatiles "Yes"
is selected.
V S A Q u i c k S t a r t G u i d e
(Can not be done when
