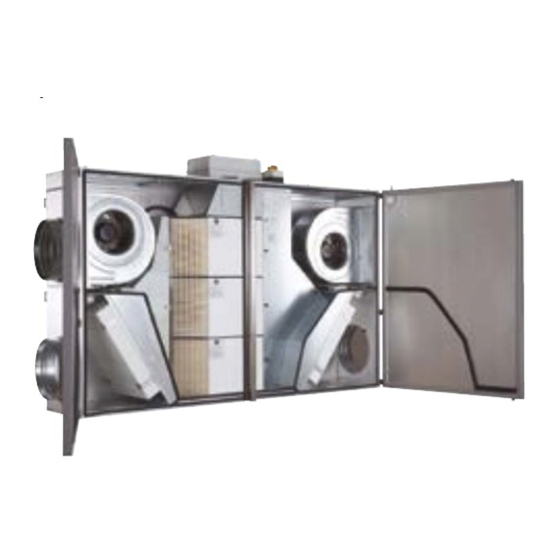
Airflow Duplexvent Flexi DV1600 Instrukcja instalacji, użytkowania i konserwacji - Strona 13
Przeglądaj online lub pobierz pdf Instrukcja instalacji, użytkowania i konserwacji dla Wentylator Airflow Duplexvent Flexi DV1600. Airflow Duplexvent Flexi DV1600 18 stron. Ventilation units with
heat recovery
Również dla Airflow Duplexvent Flexi DV1600: Instrukcja instalacji, użytkowania i konserwacji (19 strony)

ATTENTION:
Only use original filter cassettes! If different cassettes are used, the manufacturer cannot guarantee their
proper function!
Always record the date of replacement of filter cassettes in a suitable way, e.g. in the operational logbook.
9.4 Cleaning heat exchangers (heater / chiller)
It is necessary to clean the exchanger when it only shows minimum signs of contamination.
●
After opening the door vacuum clean all impurities.
●
If the vacuum cleaning of impurities while the exchanger remains in its place does not suffice, disconnect it from the heating /
cooling medium, remove it and clean it using a high-pressure cleaner.
●
When cleaning the exchanger proceed in such a way so as to prevent impurities or moisture from entering other parts of the
appliance.
9.5 Cleaning the plastic heat recovery exchanger
●
The recommended period for cleaning the exchanger is approximately 30 to 50 thousand running hours depending on the nature
of the operating environment.
It is necessary to clean the exchanger when it only shows minimum signs of contamination.
●
After opening the door and unlocking the fixing elements, slide individual recovery exchanger blocks out of the guide rails in the
following order: DUPLEXVENT FLEXI DV1600 - 1, 2, 3, DUPLEXVENT FLEXI DV2600 - 2, 1, 3, 4. Rinse the individual blocks
with hot water containing detergent at a maximum temperature of 70°C.
●
After letting them dry thoroughly, slide the individual heat recovery exchanger blocks back in in the reverse order and secure
them in place.
●
Check for a tight fit of the exchanger in the guide rails.
●
Do not expose the exchanger to ultraviolet light; store it in darkness if necessary.
ATTENTION: Never clean the exchanger with agents that might contain organic solvents - there is a risk of irreversible
damage to the exchanger!!
9.6 Draining and inspection of the condensate collection tank (not included in delivery)
●
If the condensate is drained into a sufficiently large and accessible tank, make sure it is inspected and drained regularly.
●
Make sure the tank is easily accessible; keep it clean!
9.7 Other minor maintenance
●
When replacing the air filters also check the following:
- Cleanliness of the condensate drain. A blocked drain may cause serious problems.
- Condensate drain flooding.
- Door seal condition.
●
Regularly check the liquid level in the manometers, if necessary adjust the zero value using the bottom knob (marked with - +).
Before adjusting to zero make sure that no pressure enters the manometer by disconnecting both hoses located on the top of
the appliance.
●
Also regularly check the condition of the sludge filter (part of the heating / cooling system) on the inlet of heating / cooling water
into the hot water heater / water chiller.
●
Keep the heating/cooling systems including the heater / chiller and the control set bled of air. Check pressure in the heating /
cooling system.
1 0 .
F a i l u r e s a n d t r o u b l e s h o o t i n g
Failure
Appliance will not start
up
- The appliance supplies
Appliance supplies
considerable lower air
insufficient air volume
volumes
Symptoms
- Power supply is not connected
- Power supply or interconnecting electric
cables are interrupted
- Not found
- Clogged air filters
- Mechanical obstruction in fresh air
intake or supply air outlets
- Not found
Possible causes
13
Troubleshooting
- Connect to power supply (switch on primary
circuit breakers)
- Disconnect from power supply and contact
a service technician
- Disconnect from power supply and contact
a service technician
- Switch off the appliance
- Disconnect from power supply
- Replace air filters
- Look for mechanical obstructions of fresh air
inlet ports
- Look for mechanical obstructions of supply air
outlets
- Remove obstructions, if any
- Disconnect from power supply and contact
a service technician
