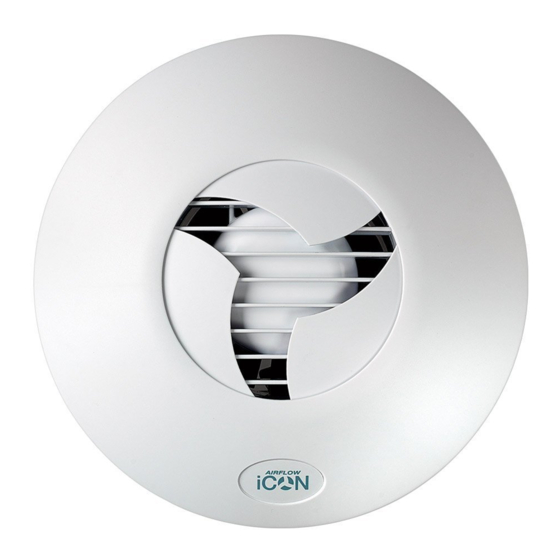
Airflow iCON15 Instrukcja instalacji i obsługi - Strona 4
Przeglądaj online lub pobierz pdf Instrukcja instalacji i obsługi dla Wentylator Airflow iCON15. Airflow iCON15 9 stron. Domestic ac fans – 230v

- 1. Installation/Maintenance/Use
- 2. Front Cover Removal
- 3. Mechanical Installation
- 4. Recessing Fans in the Wall
- 5. Surface Mounting Fans on Wall
- 6. Recessing Fans in Ceiling
- 7. Surface Mounting Fans on Ceiling
- 8. Electrical Installation
- 9. Optional Modules for Icon/Eco 230V
- 10. Troubleshooting Tip
- 11. Maintenance
- 12. Warranty
- 13. Range of Optional Modules
Recessing Fans in the Wall
The iCON 15 and iCON eco15 requires a 110mm diameter hole through the wall lined with a
100mm id (internal diameter) duct.
The iCON30 requires a 110mm diameter hole through the wall, counter bored 160mm to a
depth of 75mm. The 110mm hole should be lined with a 100mm id duct.
The iCON60 requires a 160mm diameter hole through the wall, counter bored 190mm to a
depth of 75mm. The hole should be lined with 150mm id duct.
Surface Mounting Fans on the Wall
When surface mounting the iCON30 and iCON60 the supplied mounting skirt should be
used.
The iCON30 requires a 110mm diameter hole through the wall lined with a 100 mm id duct
and the iCON60 requires a 160mm diameter hole through the wall, lined with a 150 mm id
duct
Recessing Fans in the Ceiling
POSSIBLE CABLE
ROUTING
CEILING
When recessing fans in the ceiling, a plywood support (min 18mm thick) should be mounted
between the ceiling joists. Fans should not be fitted to unsupported plaster board.
Page 4 of 8
DUCT
JOIST
PLYWOOD
