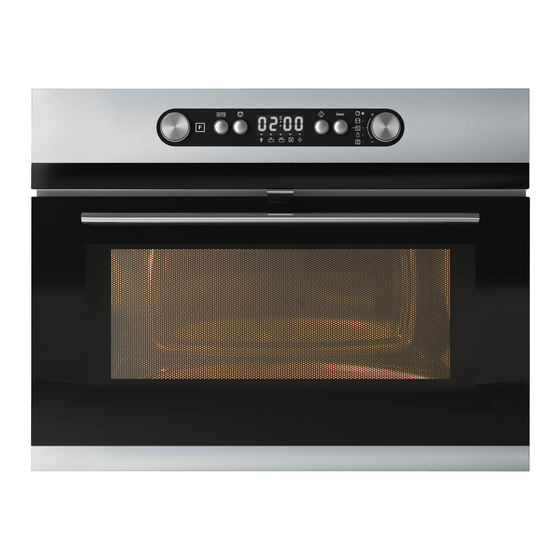
IKEA NUTID MWC 6 Podręcznik użytkownika - Strona 15
Przeglądaj online lub pobierz pdf Podręcznik użytkownika dla Piekarnik IKEA NUTID MWC 6. IKEA NUTID MWC 6 26 stron. Nutid
Również dla IKEA NUTID MWC 6: Podręcznik użytkownika (27 strony), Instrukcja instalacji (12 strony), Podręcznik (27 strony)

ENGLISH
3. Press the start button.
Midway thru the cooking process the oven
stops and prompts you to STIR FOOD.
1. Open the door
2. Stir or turn the food
3. Close the door and restart by pressing
the Start button.
Note: The oven continues automatically
after 2 min if the food hasn't been turned
/ stirred. When you are saving a meal in
the refrigerator or "plating" a meal for
reheating, arrange the thicker, denser food
to the outside of the plate and the thinner
or less dense food in the middle. Place
thin slices of meat on top of each other or
interlace them. Thicker slices such as meat
loaf and sausages have to be placed close
to each other.
Plastic foil should be scored or pricked with
a fork, to relieve the pressure and to prevent
bursting, as steam builds-up during cooking.
FOOD
HINTS
DINNER PLATE
Prepare food in line with
recommendations above.
Heat under cover.
(250g - 600g)
SOUP
Reheat uncovered in
separate bowls or in a
large one.
(200g - 800g)
FROZEN
Follow the direction on
PORTION
package, IE. ventilation,
pricking and so on.
(250g - 600g)
MILK
Heat uncovered and
use a metal spoon in a
mug or cup.
(100g - 500 g)
CASSEROLE
Reheat under cover.
(200g - 800g)
For food not listed in this table and
if the weight is lesser or greater than
recommended weight, you should follow
the procedure for "Cook and reheat with
microwaves".
Auto cook
Use this function for cooking ONLY. Auto
Cook can only be used for food belonging to
the categories listed in the table.
PLACE FOOD onto a microwave-safe heat
proof dinner plate or dish.
1
2
1. Turn the multifunction knob to Auto
position.
2. Press the auto button to select the
desired auto function.
3. Turn the adjust knob to choose desired
food class.
4. Press the select button (default weight is
displayed).
5. Turn the adjust knob to set the weight of
the food.
6. Press the start button.
Midway thru the cooking processthe oven
stops and prompts you to STIR FOOD or
TURN FOOD.
1. Open the door
2. Stir or turn the food.
3. Close the door and restart by pressing
the Start button.
NOTE: The oven continues automatically
after 2 min if the food hasn't been turned /
stirred.
When you are saving a meal in the
refrigerator or "plating" a meal for
reheating, arrange the thicker, denser food
to the outside of the plate and the thinner or
less dense food in the middle.
15
6
4
3/5
