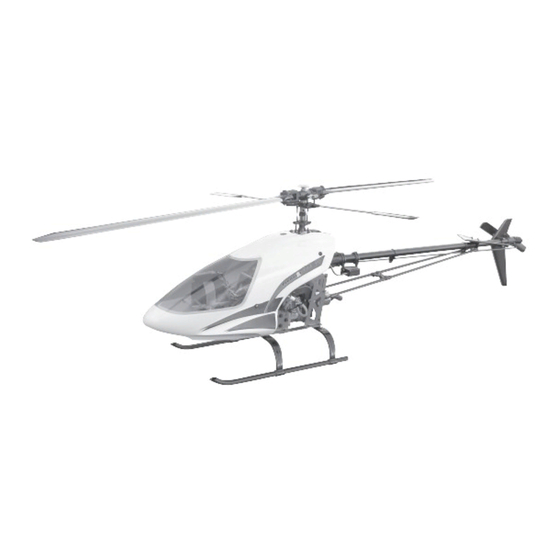
Century Helicopter Products Predator 70 Instrukcja obsługi - Strona 9
Przeglądaj online lub pobierz pdf Instrukcja obsługi dla Zabawka Century Helicopter Products Predator 70. Century Helicopter Products Predator 70 20 stron.

M3x25
Socket
Screws
#HW6115A
Rear Lower
Frames
#HW6117 Rear X Frame
Attach the X Frame to the lower side frames first using M3x8
Socket screws and locknuts at the lower hole on a flat surface.
Attach to the upper frames with M3x25 Socket screws, apply
threadlock to the holes on the upper side frames.
#HI6058K
Slipper Cap
#HI6058L
Slipper O-Ring
#HI6058J
Slipper Sleeve
Thread the slipper cap onto the sleeve until the holes align
together. Insert two M4x4 set screws at 180 degrees apart and
tighten gently. Later when the main shaft pin is attached, these
can be removed and locktighted in place.
M3x6 Flat Head
Screws x 4
Install inner gear autohub from the bottom side the inner (tail)
gear using threadlock. Attach with M3 flat head screws and
tightening evenly. Note the autohub is pre-assembled.
Standoff x 4
X-Frame
Standoff x 2
26mm Threaded Standoff
#HW6001
M4x4 Set
Screw x 2
#HI6056 Main Gear
90T - Slipper Drive
#HI6058M
Autohub - Inner
Gear CT Drive
#HI6058B
Machined Inner
Gear 70T - CT
37
17mm
#HW6054 Spacer
Before the main gear assembly can be inserted, make sure
that the M10x14x3.5 spacer is positioned on top of the lower
main shaft bearing. It will simply self align in the block.
Remember, do not locktight any bolts on the clutchbell or
starting shaft bearing blocks until the engine is installed.
60/70 Kit
39
#HI6058P
Autohub -
Slipper
#M3x8 Button
Head Screw x 4
Slide the autohub for the slipper drive from the bottom of the
main gear. Attach with M3 button head screws and tightening
evenly. Insert the slipper cap assembly, capturing the o-ring
under the cap against the autohub.
SE & Max
#HI6058N
41
Autohub - Outer
Gear CT Drive
#HI6058C
Machined Outer
Gear 90T - CT Drive
#HI6058D
Machined Outer
Gear 93T - CT Drive
Drive
Install outer gear autohub from the bottom side the outer main
gear using threadlock. Attach with M3 flat head screws and
tightening evenly. Overtigtening these screws could touch the
upper side frames.
#HW6001 Main
Shaft Pin & M4x4
Set Screws x 2
M3x6 Flat Head
Screws x 4
38
40
42
9
