Avantco 177CAG24MG Podręcznik użytkownika - Strona 5
Przeglądaj online lub pobierz pdf Podręcznik użytkownika dla Komercyjny sprzęt spożywczy Avantco 177CAG24MG. Avantco 177CAG24MG 15 stron. Commercial countertop griddles, charbroilers & ranges

User Manual
Gas Conversion Instructions
The products are produced for the use of natural gas (NG). Then check if the gas used in your region
is compatible with the type of gas for which the product was manufactured. Otherwise, the product
must be converted to be used in propane gas (LPG).
IMPORTANT
!
TO PERFORM GAS CONVERSION, A LICENSED AND QUALIFIED TECHNICIAN IS
REQUIRED.
After converting the product gas, the pressure
regulator must be converted by inverting the
fitting under the regulator cover. This will require
a reasonable amount of force. Do not remove the
spring. When replacing the cover, make sure the
insert of the socket is facing upwards in the middle
of the spring. As shown in the image on the side.
Then re-attach the pressure regulator to the gas
inlet of the product and apply the "Warning" sticker
for the gas to be used on the front of the unit for
future reference.
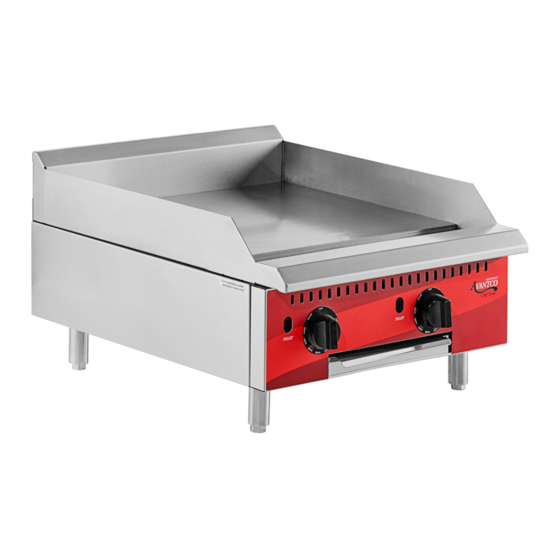
COUNTERTOP THERMOSTATIC GAS GRIDDLE
For conversion the following guidelines should be followed:
Close the manual gas valve and disconnect the product
1 .
from the gas network, making sure that there is no leakage.
Then remove the pressure regulator from the gas inlet on the
product to make work easier.
2 .
Remove the manual gas griddle assembly (1) with the help of
two or more people. For this, extreme care must be taken, as
physical injuries or serious damage can occur.
3 .
Carefully pull the wire from the thermostat bulb that is fixed
inside a support welded on the bottom of the plate until it is
loose.
Remove the screws that secure the
4 .
burners(3) to the rear support and pilot
burner support (6) with the aid of the
double screwdriver. Afterwards, remove
the burners from the product.
Remove the burners injectors (4) with
5 .
a 1/2" wrench.
8
6 . In place of the removed gas injectors (4), place the new injectors that are included with the kit shipped with
7 . Remove the pilot burner nut (7) to change the injector orifice that is inside the nut. The orifice for the
8 . After changing the gas injectors, reassemble your product. Return the burners to their original
9 . After repositioning the thermostat bulb inside the welded support at the bottom of the plate, fit the plate
10 . The following image serves to help identify the components mentioned above.
COUNTERTOP MANUAL GAS GRIDDLE
For conversion the following guidelines should be followed:
1 . Close the manual gas valve and disconnect the product
2 . Remove the manual gas griddle assembly (1) with the help of
3 . Remove the screws that secure the burners (2) to the rear
4 . Remove the injectors (3) with a 1/2" wrench.
5 . In place of the removed gas injectors (3), place the new
6 . Once the gas injectors (3) are changed, reassemble your
www.AvantcoEquipment.com
www.AvantcoEquipment.com
the product. But first apply some pipe sealant to the valve thread and then screw-in the new injectors to the
correct gas type.
exchange is included in the accessory kit.
configuration, however, now with the new injectors.
assembly back into the product. Replace the panel and secure it with the screws that were removed earlier.
from the gas network, making sure that there is no leakage.
Then remove the pressure regulator from the gas inlet on the
product to make work easier.
two or more people. For this, extreme care must be taken, as
physical injuries or serious damage can occur.
support with the aid of the double screwdriver. Afterwards,
remove the burners from the product.
injectors that are included with 4 the kit shipped with the
product. But first apply some pipe sealant to the valve thread
and then screw-in the new injectors to the correct gas type.
product (4).
User Manual
9
