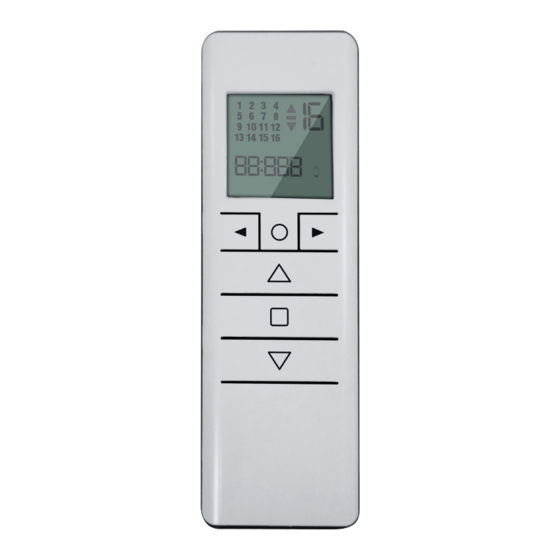
GAPOSA Emitto Smart 16 QCTZ16Y Podręcznik instalatora - Strona 4
Przeglądaj online lub pobierz pdf Podręcznik instalatora dla Nadajnik GAPOSA Emitto Smart 16 QCTZ16Y. GAPOSA Emitto Smart 16 QCTZ16Y 8 stron.

PROGRAMMING TRANSMITTER (Fig.1)
CAUTION: If more motors with receiver have to be installed, it is important to power up only one motor at time
during the first programming session, in order to avoid any interferences with the others.
1. Power up the motor to be programmed.
2. Hold SYNC pressed until the motor starts moving.
3. Check the rotation of the motor, then release SYNC (the motor stops).
4. Within 5 seconds press the corresponding button (i.e. UP if the motor rotates upwards or DOWN if vice
versa).
In this way the transmitter has been programmed and the rotation of the motor has been synchronized.
ADDING TRANSMITTER (Fig.1)
2. Hold SYNC pressed of a transmitter already paired until the motor starts moving.
3. Check the rotation of the motor, then release SYNC (the motor stops).
4. Within 5 seconds press the corresponding button (i.e. UP if the motor rotates upwards or DOWN if vice
versa) on the new transmitter being added.
Additional transmitter is now added
FIG. 1
1
OFF
ON
CHECKING/CHANGING DIRECTION (Fig.2)
IMPORTANT: change direction must be performed before starting limit setting otherwise limits must be reset.
Press
DOWN button the motor should go UP or DOWN, otherwise to change direction:
UP or
1. Press and hold SYNC button till the motor starts moving
2. Press the
STOP button: The motor makes a brief jog.
Direction of the motor has been reversed.
FIG. 2
1
A
ERASING TRANSMITTERS (Fig. 3)
Push simultanously SYNC and STOP of the transmitter until the motor makes a brief movement in both
directions. Only the transmitter used for this procedure has been deleted from motor memory
FIG. 3
88:888
1
2
3
4
5
6
A
2
3
A
2
88:888
1
2
3
4
5
6
4
88:888
1
2
3
4
5
6
A
88:888
1
2
3
4
5
6
