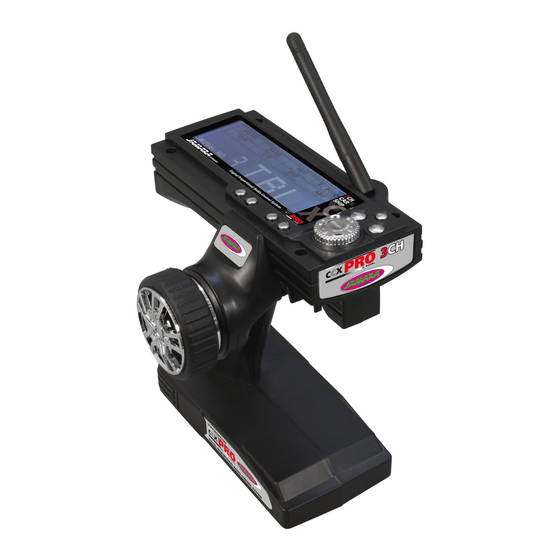
Jamara CCX Pro Instrukcja obsługi - Strona 7
Przeglądaj online lub pobierz pdf Instrukcja obsługi dla Nadajnik Jamara CCX Pro. Jamara CCX Pro 16 stron. 2,4 ghz
Również dla Jamara CCX Pro: Instrukcja obsługi (20 strony), Instrukcja (12 strony), Instrukcja (12 strony), Instrukcja (12 strony), Instrukcja (4 strony)

Binding The Receiver To The Transmitter
As with all modern 2.4GHz R/C systems the receiver must be bound to
the transmitter to ensure that the receiver will only react to signals from
that transmitter.
If you wish to re-bind the receiver with the transmitter please proceed
as follows:
A. Ensure that the transmitter is fi tted with fresh or fully charged
batteries and leave the transmitter off.
B. Plug the binding plug (included) into the channel 3 socket on the
receiver.
C. Switch the receiver system on by connecting the battery.
The receiver LED will begin to fl ash indicating that the receiver is in
bonding mode.
D. Press and hold down the binding button on the transmitter while
switching it on.
E. Watch the receiver LED and once it stops blinking the binding
process is copmlete.
This process may take up to 5 seconds.
F. Release the binding button on the transmitter and disconnect the
binding plug from the receiver. Set the receiver and transmitter.
G. Install all of the components correctly and carefully check that
everything is operating correctly.
H. If the receiver fails to bond or does not function after bonding
repeat the above procedure until a successful bonding is achieved.
The diagram illustrate the bonding process and show the locations of the relevant components.
Fail Safe
Programming of the integrated FailSafe unit.
1. Function Description
The built-in FailSafe unit is mainly for the use on boats and cars. It is used
to prevent loss of the model in case of signal loss and returns the servo to
the position which was set before.
2. Setting
a. Turn on the transmitter
b. Turn on the receiver. The signal LED will flash continuously and
indicates that the receiver is ready.
c. Move the throttle lever on the transmitter in the braking or outlet
position. Hold the throttle lever in this position.
d. Press the Setup button on the receiver. The signal LED flashes for 3
seconds (see left).
e. The setting is saved and you can bring back the throttle into neutral
position.
3. Testing the settings
a. Turn on the transmitter.
b. Turn on the receiver.
c. Turn off the transmitter.
d. The receiver will now lose the signal and drives the servo or the
speed control on the gas channel to the previously programmed
position.
e. If these steps work, you have set the FailSafe.
Binding Button
LED
Binding Plug
Receiver
Fail Safe
LED
Binding Plug
Receiver
Battery
Battery
7
7
