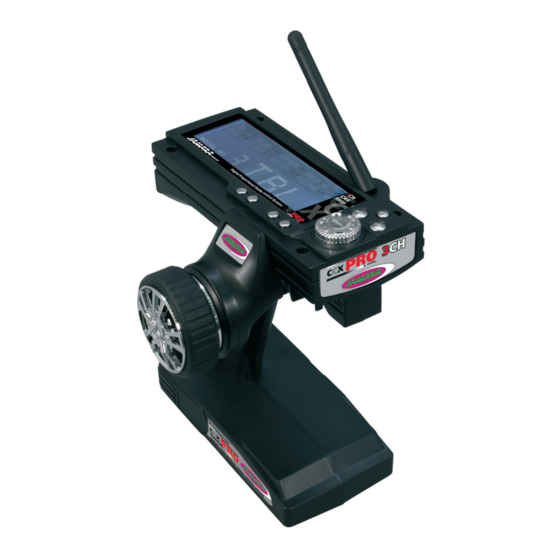
Jamara CCX Pro 2,4 GHz Instrukcja obsługi - Strona 11
Przeglądaj online lub pobierz pdf Instrukcja obsługi dla Nadajnik Jamara CCX Pro 2,4 GHz. Jamara CCX Pro 2,4 GHz 20 stron.
Również dla Jamara CCX Pro 2,4 GHz: Instrukcja obsługi (20 strony), Instrukcja (12 strony), Instrukcja obsługi (20 strony)

Récepteur
Récepteur
Receiver
FR - Fail Safe
Programmation de la fonction Fail Safe
1. Description de la fonction
L'unité Fail Safe intégrée est surtout d'utilité pour les bateaux et les
voitures. Elle sert à éviter la perte du modèle lorsque la fonction gaz
reste accrochée lorsque le signal de commande n'est plus récepti-
onné. Lorsque le récepteur perd la communication avec l'émetteur,
celui-ci place automatiquement le servo des gaz ou le régulateur dans
une position préprogrammée.
2. Réglages
a. Mettez en marche l'émetteur
b. Mettez en marche le récepteur. La LED clignote continuellement
et vous indique que le récepteur est utilisable.
c. Placez le manche des gaz en position de freinage ou ralenti du
servo ou du régulateur. Gardez la commande dans cette position.
d. Appuyez sur la touche Setup du récepteur. La LED clignote durant
3 secondes (voir illustration de gauche).
e. La position est mémorisée et vous pouvez relâcher la commande
des gaz.
3. Test et réglages
a. Mettez en marche l'émetteur
b. Mettez en marche le récepteur.
c. Eteignez l'émetteur.
d. Le récepteur perd le signal et place donc le servo des gaz ou le
régulateur dans la position préprogrammée.
e. Si cela ce déroule comme indiqué vous avez programmé avec
succès la fonction Fail Safe, sinon il faut refaire un réglage.
Fail Safe
LED
Accu
Accu
Battery
Battery
Connecteur de synchronisation
Connecteur de synchronisation
Binding Plug
Binding Plug
GB - Fail Safe
Programming of the integrated FailSafe unit.
1. Function Description
The built-in FailSafe unit is mainly for the use on boats and cars. It is
used to prevent loss of the model in case of signal loss and returns the
servo to the position which was set before.
2. Setting
a. Turn on the transmitter
b. Turn on the receiver. The signal LED will fl ash continuously and
indicates that the receiver is ready.
c. Move the throttle lever on the transmitter in the braking or
outlet position. Hold the throttle lever in this position.
d. Press the Setup button on the receiver. The signal LED fl ashes for
3 seconds (see left).
e. The setting is saved and you can bring back the throttle into
neutral position.
3. Testing the settings
a. Turn on the transmitter.
b. Turn on the receiver.
c. Turn off the transmitter.
d. The receiver will now lose the signal and drives the servo or the
speed control on the gas channel to the previously programmed
position.
e. If these steps work, you have set the FailSafe.
11
11
