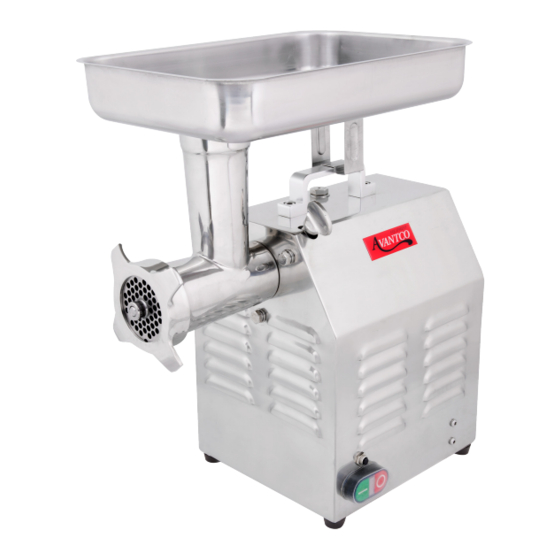
Avantco Equipment 177MG12 Podręcznik użytkownika - Strona 4
Przeglądaj online lub pobierz pdf Podręcznik użytkownika dla Maszynka do mielenia mięsa Avantco Equipment 177MG12. Avantco Equipment 177MG12 7 stron.

User Manual
SAUSAGE STUFFING ASSEMBLY
Be sure the grinder is unplugged.
1.
Attach grinder head to motor and install auger as previously described in General Assembly
2.
SAUSAGE STUFFING ASSEMBLY
instructions.
Slide the stuffing plate onto auger. The grinding blade is not used when stuffing.
3.
• Be sure the grinder is unplugged.
Slide one of the stuffing tubes through the funnel flange and place in the grinder ring cap (stuffing
4.
• Attach grinder head to motor and install auger as previously described in General Assembly
tube faces out). The stuffing tube size used depends on the type of casing you have chosen to use.
instructions.
(See Fig. A)
• Slide the stuffing plate onto auger. The grinding blade is not used when stuffing.
• Slide one of the stuffing tubes through the funnel flange and place in the grinder ring cap
Firmly screw the grinder ring onto the grinder head. (See Fig. B)
5.
(stuffing tube faces out). The stuffing tube size used depends on the type of casing you have
SAUSAGE STUFFING DIRECTIONS
chosen to use.(See Fig a)
• Firmly screw the grinder ring onto the grinder head. (See Fig b)
•
It is recommended that 2 people perform sausage stuffing.
SAUSAGE STUFFING DIRECTIONS
•
Do not operate the grinder without meat in the grinder head.
Damage to auger and/or motor can occur.
• Properly prepare casings as directed on the casing packaging. Place artificial or natural
• intestines onto the sausage funnel.
Properly prepare casings as directed on the casing packaging.
1.
• Load the hopper with prepared meat and feed meat into the grinder head opening before
Place artificial or natural intestines onto the sausage funnel.
2.
operating unit. Reminder: Do not operate the grinder without meat in the grinder head. Damage
Load the hopper with prepared meat and feed meat into the grinder head opening
3.
to auger and/or motor can occur.
before operating unit.
• Plug in and turn the switch to the on position when ready to start.
• Begin to feed the sausage mixture into the hopper opening. (See Fig c)
Plug in and turn the switch to the on position when ready to start.
4.
• Hold the casing on the sausage tube in one hand and slowly let the meat output pull the casing
Begin to feed the sausage mixture into the hopper opening. (See Fig. C)
5.
from the tube. Fill casing as desired by holding casing back on tube.
Hold the casing on the sausage tube in one hand and slowly let the meat output pull the casing
6.
• Twist or tie the sausage into links as desired. Tie end of casing into a knot.
from the tube. Fill casing as desired by holding casing back on tube.
• It is recommended that 2 people perform sausage stuffing.
• Add small amounts of water to your ground meat when stuffing sausage to improve output of
Twist or tie the sausage into links as desired. Tie end of casing into a knot.
7.
meat through sausage stuffing tube.
Add small amounts of water to your ground meat when stuffing sausage to improve output
8.
of meat through sausage stuffing tube.
Fig. A
AFTER USE
Fig. a
Disassemble all parts and wash thoroughly in soapy water.
1.
You must remove all foreign material from all appliance parts.
2.
AFTER USE
Dry all surfaces.
3.
Do not use bleach or chlorine based chemicals to clean. Discoloration of plastic parts can occur.
4.
• Disassemble all parts and wash thoroughly in soapy water.
Wipe down all non stainless steel parts with a food-safe grade spray.
5.
• You must remove all foreign material from all appliance parts.
Alternatively, wipe down with a salad oil to keep from rusting.
• Dry all surfaces.
• Do not use bleach or chlorine based chemicals to clean. Discoloration of plastic parts can occur.
Do not immerse motor housing in water. Damage to motor can occur.
6.
• Wipe down all non stainless steel parts with a food-safe grade spray. Alternatively, wipe down with
4
a salad oil to keep from rusting.
Fig. B
Fig. b
Fig. C
Fig. c
www.AvantcoEquipment.com
