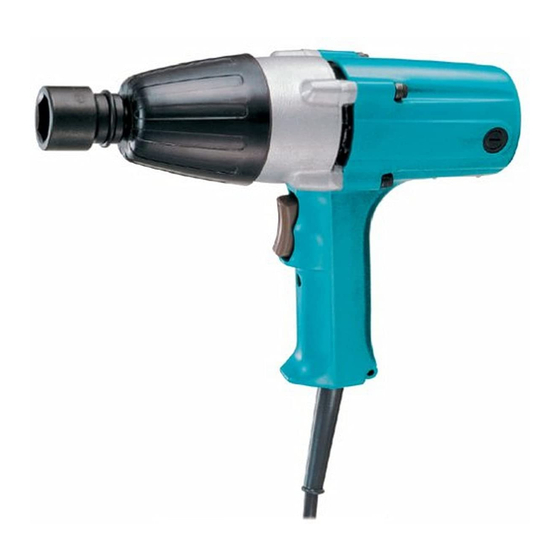
Makita 6905B Instrukcja obsługi - Strona 4
Przeglądaj online lub pobierz pdf Instrukcja obsługi dla Elektronarzędzie Makita 6905B. Makita 6905B 8 stron. 12.7 mm (1/2")
Również dla Makita 6905B: Instrukcja obsługi (13 strony), Podział części (2 strony), Instrukcja obsługi (8 strony), Instrukcja obsługi (20 strony), Instrukcja obsługi (7 strony), Instrukcja obsługi (11 strony)

Power tool use and care
1.
Do not force the power tool. Use the correct
power tool for your application. The correct
power tool will do the job better and safer at the
rate for which it was designed.
Do not use the power tool if the switch does
2.
not turn it on and off. Any power tool that cannot
be controlled with the switch is dangerous and
must be repaired.
Disconnect the plug from the power source
3.
and/or remove the battery pack, if detachable,
from the power tool before making any adjust-
ments, changing accessories, or storing power
tools. Such preventive safety measures reduce
the risk of starting the power tool accidentally.
4.
Store idle power tools out of the reach of chil-
dren and do not allow persons unfamiliar with
the power tool or these instructions to operate
the power tool. Power tools are dangerous in the
hands of untrained users.
5.
Maintain power tools and accessories. Check
for misalignment or binding of moving parts,
breakage of parts and any other condition that
may affect the power tool's operation. If dam-
aged, have the power tool repaired before use.
Many accidents are caused by poorly maintained
power tools.
6.
Keep cutting tools sharp and clean. Properly
maintained cutting tools with sharp cutting edges
are less likely to bind and are easier to control.
7.
Use the power tool, accessories and tool bits
etc. in accordance with these instructions, tak-
ing into account the working conditions and
the work to be performed. Use of the power tool
for operations different from those intended could
result in a hazardous situation.
8.
Keep handles and grasping surfaces dry,
clean and free from oil and grease. Slippery
handles and grasping surfaces do not allow for
safe handling and control of the tool in unexpected
situations.
When using the tool, do not wear cloth work
9.
gloves which may be entangled. The entangle-
ment of cloth work gloves in the moving parts may
result in personal injury.
Service
1.
Have your power tool serviced by a qualified
repair person using only identical replacement
parts. This will ensure that the safety of the power
tool is maintained.
2.
Follow instruction for lubricating and chang-
ing accessories.
Impact wrench safety warnings
1.
Hold the power tool by insulated gripping
surfaces, when performing an operation where
the fastener may contact hidden wiring or its
own cord. Fasteners contacting a "live" wire may
make exposed metal parts of the power tool "live"
and could give the operator an electric shock.
2.
Wear ear protectors.
3.
Check the impact socket carefully for wear,
cracks or damage before installation.
4.
Hold the tool firmly.
5.
Keep hands away from rotating parts.
6.
Always be sure you have a firm footing.
Be sure no one is below when using the tool in
high locations.
7.
The proper fastening torque may differ
depending upon the kind or size of the bolt.
Check the torque with a torque wrench.
SAVE THESE INSTRUCTIONS.
WARNING:
DO NOT let comfort or familiarity
with product (gained from repeated use) replace
strict adherence to safety rules for the subject
product.
MISUSE or failure to follow the safety rules stated
in this instruction manual may cause serious
personal injury.
FUNCTIONAL
DESCRIPTION
CAUTION:
•
Always be sure that the tool is switched off and
unplugged before adjusting or checking function
on the tool.
Switch action
1
► 1. Switch trigger
CAUTION:
•
Before plugging in the tool, always check to see
that the switch trigger actuates properly and
returns to the "OFF" position when released.
•
Change the direction of rotation only when the
tool comes to a complete stop. Changing it
before the tool stops may damage the tool.
The switch is reversible, providing either clockwise or
counterclockwise rotation. To start the tool, simply pull
the lower part of the switch trigger for clockwise or the
upper part for counterclockwise. Release the switch
trigger to stop.
4 ENGLISH
