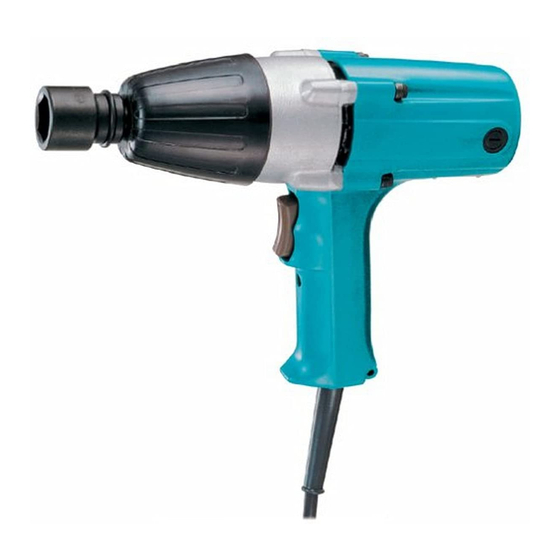
Makita 6906 Instrukcja obsługi - Strona 5
Przeglądaj online lub pobierz pdf Instrukcja obsługi dla Elektronarzędzie Makita 6906. Makita 6906 8 stron. Makita 6906 impact wrench: specifications
Również dla Makita 6906: Instrukcja obsługi (13 strony), Podział części (3 strony), Instrukcja obsługi (20 strony), Instrukcja obsługi (7 strony), Instrukcja obsługi (8 strony)
FUNCTIONAL DESCRIPTION
CAUTION:
Always be sure that the tool is switched off and
•
unplugged before adjusting or checking function on
the tool.
Switch action
1
002312
CAUTION:
Before plugging in the tool, always check to see
•
that the switch trigger actuates properly and returns
to the "OFF" position when released.
Change the direction of rotation only when the tool
•
comes to a complete stop. Changing it before the
tool stops may damage the tool.
The switch is reversible, providing either clockwise or
counterclockwise rotation. To start the tool, simply pull
the lower part of the switch trigger for clockwise or the
upper part for counterclockwise. Release the switch
trigger to stop.
ASSEMBLY
CAUTION:
Always be sure that the tool is switched off and
•
unplugged before carrying out any work on the tool.
Installing side grip
002332
For 6906 only
Fit the side grip into the groove on the middle of the
hammer case and fasten securely.
Selecting correct socket
Always use the correct size socket for bolts and nuts. An
incorrect size socket will result in inaccurate and
1. Switch trigger
1. Side grip
1
inconsistent fastening torque and/or damage to the bolt
or nut.
Installing or removing socket
1
2
002338
1.
For socket without O-ring and pin
To install the socket, push it onto the anvil of the
tool until it locks into place.
To remove the socket, simply pull it off.
2.
For socket with O-ring and pin
1
005300
Move the O-ring out of the groove in the socket and
remove the pin from the socket. Fit the socket onto
the anvil of the tool so that the hole in the socket is
aligned with the hole in the anvil. Insert the pin
through the hole in the socket and anvil. Then
return the O-ring to the original position in the
socket groove to retain the pin. To remove the
socket, follow the installation procedures in
reverse.
OPERATION
For 6906 only
Always use the side grip (auxiliary handle) and firmly
hold the tool by side grip and switch handle during
operations.
The proper fastening torque may differ depending upon
the kind or size of the bolt, the material of the workpiece
to be fastened, etc. The relation between fastening
torque and fastening time is shown in the figures.
5
1. Socket
2. Anvil
1. Socket
2
2. O-ring
3. Pin
3