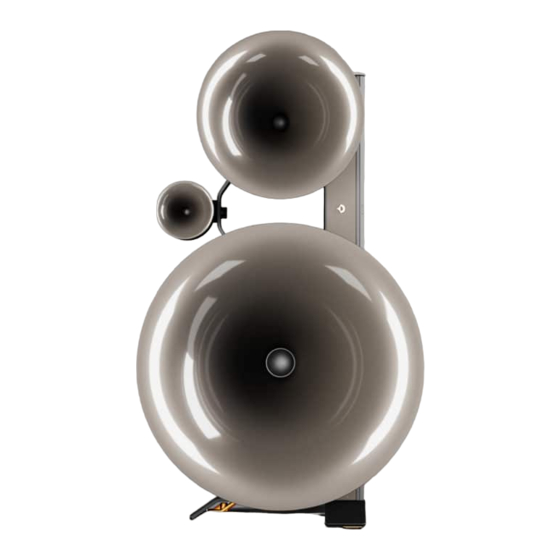
Avantgarde TRIO G3 Podręcznik użytkownika - Strona 5
Przeglądaj online lub pobierz pdf Podręcznik użytkownika dla Głośniki Avantgarde TRIO G3. Avantgarde TRIO G3 18 stron.

UNPACKING
TRIO G3
Please note the very heavy weight of the speaker system when
unpacking and installing the system! We strongly advise doing this
work only with the help of other persons!
Do not move or carry the speakers by holding the horn assembly.
The horns & the phase alignment slider of the tweeter will get
damaged.
Unscrew and remove top cover of the wooden crate. Note, that the
1
screws may be hidden under red the "caution"-tape.
Unscrew and remove the side panels of the wooden crate.
2
Carefully tilt the speaker into its upright position.
3
Use wheel board (min. size 70 x 70cm) to transport the speaker to
4
its listening position. Note, that the spherical horns can be removed
by unscrewing them counterclockwise. This makes it easier to pass
through narrow doorways.
UNPACKING
SPACEHORN
Unscrew and remove top cover of the wooden crate. Note, that the
1
screws may be hidden under the red "caution" tape.
Unscrew and remove the side panels of the wooden crate.
2
Carefully tilt the speaker sideways onto the levelling feets of the
3
SpaceHorns.
Use wheel board (min. size 70 x 70cm) to transport the speaker to
4
its listening position.
ADJUSTABLE FEET
TRIO G3
The Trio G3 stands on 3 spike absorber elements
rubber pads
the speaker.
1
The integrated spikes are in a lifted shipping position not to touch
3
& scratch the ground. Once the speaker is f inally positioned, the
spikes can be lowered by turning the knurled screw
clockwise.
2
1
4
If required use the protective discs
f rom damage.
ADJUSTABLE FEET
SPACEHORN
The SpaceHorn is shipped with the 4 x adjustable gliding feet
mounted on the bottom plate of the speaker body for a horizontal
placement of the SpaceHorn (see graph 1 to 3, next page).
1
If the SpaceHorns are placed vertically (see graph 4 to 7, next page)
the gliding feet needs to be relocated. Carefully tilt the SpaceHorn
to the narrow backside of the speaker, so that both the 4 x gliding
feet and the 4 x metal covers become accessible. Use a soft blanket
not to scratch the speaker body.
2
Use the triangle allen wrench tool to remove the metal covers of the
SpaceHorns.
3
Now swap the positions of the 4 x gliding feet and the 4 x metal
covers.
4
Place the SpaceHorns to the f inal listening position.
5
Use the height adjustment tool to adjust the gliding feet of the
SpaceHorns.
8
9
with integrated
to glide the speaker on the floor when positioning
to protect sensitive floors
counter-
