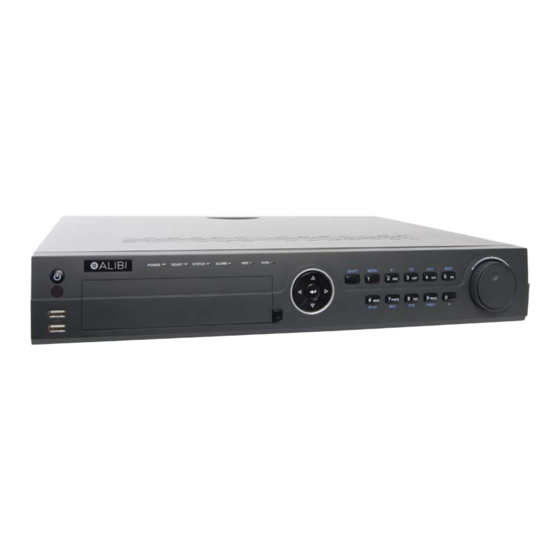
ALIBI ALI-NVR5000P Series Podręcznik szybkiej konfiguracji - Strona 2
Przeglądaj online lub pobierz pdf Podręcznik szybkiej konfiguracji dla DVR ALIBI ALI-NVR5000P Series. ALIBI ALI-NVR5000P Series 8 stron. Embedded network video recorder
Item
Description
RS-485, ALARMS IN/OUT
See below.
AC 100V ~ 240V
AC 100 V ~ 240 V power supply.
ON / OFF Switch
Switch for powering the device on or off.
GROUND
Terminal for ground. Connect to earth ground before powering on the NVR.
LAN Interface
10/100/1000BASE-T Ethernet network interface
USB interface
Universal Serial Bus (USB) ports for additional devices such as USB mouse and USB Hard Disk Drive (HDD).
CVBS AUDIO OUT - BNC connector for audio output. This connector is synchronized with CVBS video output
AUDIO OUT
VGA AUDIO OUT - BNC connector for audio output. This connector is synchronized with VGA video output
Internal Ethernet switch
16 ports for IP cameras. These ports provide Power over Ethernet (PoE) to the cameras.
ports
RS-485, ALARMS IN/OUT
RS-485, Alarm IN / OUT terminations
Item
Description
RS-485 termination switch:
SW ON
Up position is not terminated.
Down position is terminated with 120 Ω resister.
RS-485 (T+, T-, R+. R-)
T+ and T- pins connect to R+ and R- pins of PTZ receiver respectively.
Controller port:
KB
D+, D- pin connects to Ta, Tb pin of controller.
For cascading devices, the first NVR's D+, D- pin should be connected with the D+, D- pin of the next NVR
ALARM IN (1 through 16)
Alarm inputs 1 - 16. Alarm input is tied to ground through the alarm sensor.
ALARM OUT
Alarm outputs 1 - 4 with ground terminations.
(1-G through 4-G)
2
www.Observint.com
Remote Control
The enter key on the remote control or the front panel has the same function as a mouse left click. The IR Range of the remote control is 10
meters. The buttons on the remote control correspond with the buttons on the front panel.
17
18 16
Item
Name
Function
1
POWER
Power on/off the device.
2
DEV
Enables/Disables Remote Control.
Switching to the corresponding channel in Live view or PTZ Control mode.
3
Alphanumeric Buttons
Inputting numbers and characters in Edit mode.
Switching between different channels in All-day Playback mode.
Editing text fields. When editing text fields, it will also function as a Backspace button to delete the character in front of the
4
EDIT Button
cursor. On checkbox fields, pressing the EDIT button will tick the checkbox.
In Playback mode, it can be used to generate video clips for backup.
5
A Button
Switching between input methods (upper and lowercase alphabet, symbols and numeric input).
Entering the Manual Record settings menu.
6
REC Button
In PTZ control settings, press the REC button and then you can call a PTZ preset by pressing Numeric button.
7
PLAY Button
Playback, for direct access to playback interface.
8
INFO Button
Reserved.
Selecting all items on the list;
9
VOIP button
In live view or playback mode, it can be used to switch between main and spot video output
Press the button will help you return to the Main menu (after successful login).
10
MENU button
Press and hold the button for 5 seconds to turn off audible key beep.
11
PREV button
Switch between single screen and multi-screen mode.
Navigating between different fields and items in menus.
In Playback mode, the UP and DOWN button are used to speed up and slow down recorded video.
12
DIRECTION/ENTER buttons
The LEFT and RIGHT buttons select the next and previous day of recordings.
In LIVE view mode, these buttons can be used to cycle through channels.
13
PTZ button
Enter the PTZ Control mode.
Return to the previous menu.
14
ESC button
Press for Arming/disarming the device in Live View mode.
15
RESERVED
Reserved for future usage.
Selecting all items on the list when used in a list field.
16
F1 button
In PTZ Control mode, it will turn on/off PTZ light.
17
PTZ Control buttons
Buttons to adjust the iris, focus and zoom of a PTZ camera.
18
F2 button
Cycle through tab pages.
13
12
10
8
6
4
15
14
11
9
7
5
3
© 2014 Observint Technologies, Inc. All rights reserved.
1
2