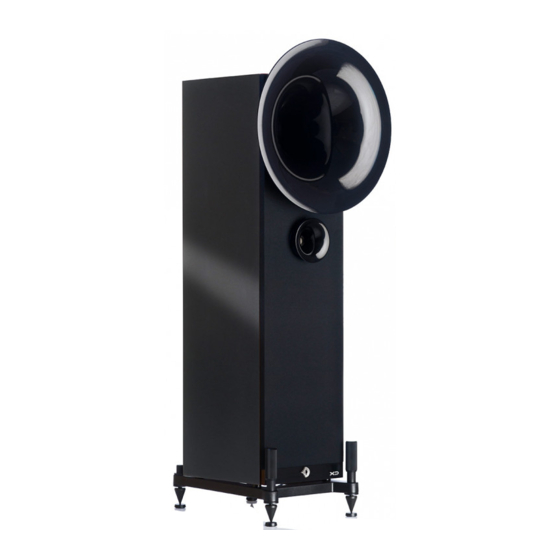
Avantgarde Acoustic UNO FINO Podręcznik użytkownika - Strona 12
Przeglądaj online lub pobierz pdf Podręcznik użytkownika dla Wzmacniacz Avantgarde Acoustic UNO FINO. Avantgarde Acoustic UNO FINO 17 stron.

SYSTEM AUFBAU TIPPS
SPIKE SCHUTZVERPACKUNG
• Die Spikes inkl. den Pucks werden bei der Auslieferung
durch zwei Styrodur–Halbschalen geschützt.
• Erst ganz zum Schluss, wenn der Lautsprecher nicht
mehr verschoben werden muss, diese Spike–Schutzverpa-
ckung abnehmen.
① Zum Entfernen der Spike–Schutzverpackung den Spike-
griff im Uhrzeigersinn drehen, bis die Styrodurschale einige
Millimeter Luft zum Fußgestell bekommt.
② Das Klebeband nur auf einer Seite entlang beider Halb-
schalen aufschneiden.
③ Die Halbschalen aufklappen und die Spike–Schutzver-
packung entfernen.
④ Zur Vermeidung von Kratzern auf dem Boden sind die
Pucks auf ihrer Unterseite gummiert. Den Puck unter den
Spike platzieren und den Spikegriff entgegen dem Uhrzei-
gersinn drehen, bis der Lautsprecher fest steht.
②
④
22
SYSTEM SET UP TIPS
SPIKE PROTECTION STYROFOAM
• The spikes incl. the aluminium Floor–Protection–Washer
are transport–protected with clam–shell styrofoam.
• Only remove Spike–Protection–Styrofoam at the very end
of the set–up when the speaker is not moved around any-
more.
① To remove the Spike–Protection–Styrofoam turn the
handle of the spike clockwise, until the top of the styrofoam
has a few millimeters of clearance.
② Cut the adhesive tape open between the two clam–shell
halves.
③ Now swing–open the two clam–shell halves and remove
the Spike–Protection–Styrofoam.
④ The Floor–Protection–Washer have a rubber padding on
the underside to prevent scratches on the floor. Place the
washers under the spike and turn the handle of the spike
counter–clockwise till the spike is firm to the ground.
①
③
FINE–TUNING TIPPS
FINE–TUNING DER SUBWOOFER EINSTELLUNGEN
• Der Lautstärkeregler ❼ hat eine sehr feine Rasterung,
um präzise Einstellungen zu ermöglichen. Dadurch ist ein
Verstellen um lediglich 1 "Klick" oft kaum hörbar. Den Laut-
stärkeregler ❼ also gleich um 2– 3 "Klicks" verändern, um
dann evtl. wieder "Klick für Klick" zurückdrehen.
• Der Frequenzregler ❺ kann – feinfühlig dosiert – als
"Wärmeregler" eingesetzt werden. Eine bewusst höher
eingestellte Trennfrequenz bewirkt eine Überlappung mit
dem Mittelton. Das Klangbild hat so mehr „Wärme" und
„Substanz".
Wird der Überlappungsbereich jedoch zu groß (d.h. die Fre-
quenz ist zu hoch eingestellt), verliert die Mitteltonwieder-
gabe an horntypischer Transparenz und Auflösung. In der
Regel muss mit steigender Trennfrequenz die Subwoofer-
Lautstärke etwas reduziert werden!
• Umgekehrt kann der Bassbereich auch bewusst tiefer
angekoppelt werden. Zwischen Subwoofer und Mittelton
entsteht eine kleine Lücke und die horntypische Dynamik
kommt noch "fetziger" zum Tragen.
Wählt man die Trennfrequenz jedoch zu tief, verliert das
System an Homogenität, können Subwoofer und Hornsatel-
lit als einzeln heraushörbare Klangquelle wahrgenommen
werden. In der Regel muss mit abnehmender Trennfre-
quenz die Subwoofer-Lautstärke etwas erhöht werden!
FINE–TUNING DURCH ANWINKELN DER SYSTEME
• Durch Ein– oder Auswinkeln der Lautsprecher kann die
Klangbalance und der Fokus beeinflusst werden.
• Auswinkeln lässt das Klangbild weniger „direkt" erschei-
nen. Durch zu starkes Auswinkeln kann jedoch die Mitten-
ortung beeinträchtigt werden.
• Einwinkeln betont die Mittenortung. Durch zu starkes
Einwinkeln kann jedoch die Stereoabbildung beeinträchtigt
werden.
• Vor dem Neuausrichten der Systeme die vorherige Po-
sition mit etwas Klebeband auf dem Fußboden markieren.
So kann leicht zur alten Position zurückgefunden werden.
FINE–TUNING TIPS
FINE–TUNING THE SUBWOOFER SETTINGS
• The Volume–Attenuator ❼ uses fine incremental steps
to allow for a precise fine tuning. Thus an increase or de-
crease of only 1 step might hardly be audible. For more bass
increase the Volume–Switch ❼ at first by 2–3 clicks and
then if required go back click by click.
• The Frequency–Attenuator ❺ can be carefully used to
adjust the "tonal balance" of the system. When set to a
higher frequency, the subwoofer will partly overlap with the
midrange horn response. This will add "warmth" and give a
richer "body" to the sound character of your system.
But be cautious: if the overlapping area gets too big (e.g.
the frequency set too high) the midrange will loose part of
its horn-typical transparency and resolution. In general: an
increase of the crossover frequency normally requires a de-
crease of the subwoofer volume!
• If the crossover frequency is purposely set to a lower fre-
quency, subwoofer and midrange frequency response will
have a small gap. The tonal balance of the system will shift
to a more horn typical "dynamic" and "punchy" sound.
But again be cautious: if the frequency gap gets too big,
the system will loose "homogeneity". Sub and midrange can
then be identified as 2 single sound sources. In general: a
decrease of the crossover frequency normally requires a
increase of the subwoofer volume!
FINE–TUNING BY TOE–IN OF THE SPEAKER
• By facing the speakers inwards or outwards (toeing–in,
toeing–out) you can further affect the focus and tonal bal-
ance of the system.
• By toeing–out, the sound appears to be less "direct" or
"forward sounding", but may affect the focus of the centre
image.
• Toeing–in emphasizes increased focus on the centre im-
age, but may affect the width of the stereo image.
• When you change the position or angle of the speakers,
you should always first mark the original position of the
speaker on your floor with tape. This way you can easily
return to the original position.
23
