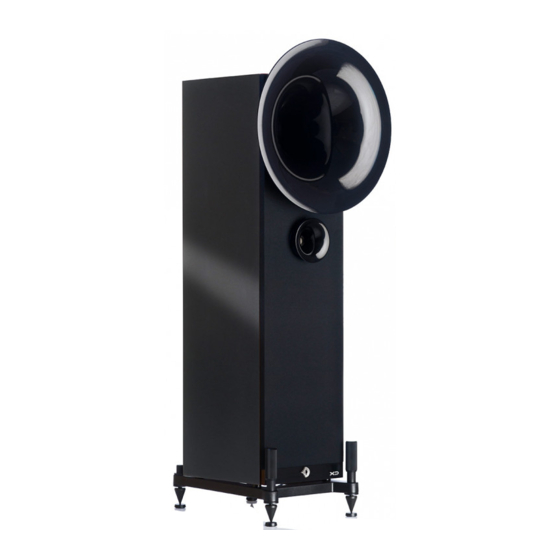
Avantgarde Acoustic UNO FINO Podręcznik użytkownika - Strona 6
Przeglądaj online lub pobierz pdf Podręcznik użytkownika dla Wzmacniacz Avantgarde Acoustic UNO FINO. Avantgarde Acoustic UNO FINO 17 stron.

⓮
⓰
–MID
❶
⓯
EARTH
10
SPKR INPUT
LINE INPUT
SIG
GND
SIG
MUTE
XLR
SPKR
30 Hz
40 Hz
20 Hz
5
6
7
4
8
3
9
2
10
1
11
MID
LOW
HIGH
5
4
6
3
7
2
8
1
9
0
10
LED
EARTH 12V DC
CAUTION!
Do not open.
Risk of
electrical shock!
PA107
SERIAL NO.
330 WATTS
100V (3,15 A slow)
115V (3,15 A slow)
230V (2,0 A slow)
SYSTEM INSTALLATION
ALLGEMEINE SICHERHEITSHINWEISE
• Vor der Verkabelung der Lautsprecher müssen alle Geräte
ausgeschaltet bzw. vom Stromnetz getrennt sein. Sicher-
heitshalber den Netzstecker ziehen.
• Die Geräte niemals mit offenen Eingängen (unverkabelt)
betreiben! Um Defekte zu vermeiden, müssen alle Geräte
vor dem Netzanschluss ordnungsgemäß verkabelt sein!
• Beim Anschluss per Lautsprecherkabel auf richtige Pola-
rität achten! Verpolung kann den Klang beeinträchtigen und
die Endstufen bzw. den Lautsprecher beschädigen! Die +/–
Adern niemals kurzschließen!
Hochwertiges Lautsprecherkabel und solide Bananen-
stecker oder Kabelschuhe verwenden.
STANDARD VERKABELUNG
① Den Mittelton–Eingang ⓮ und den kombinierten Sub-
woofer/Hochton–Eingang ❶ mit der Kabelbrücke ⓰–MID
verbinden. Die Kabelbrücke finden Sie in der Zubehörbox.
② Den Lautsprecher–Ausgang ⓯ des Vollverstärkers bzw.
der Endstufe mit dem Mittelton–Eingang ⓮ des Lautspre-
chersystems verbinden.
③ Erst jetzt den Subwoofer mit dem beigepackten Netzka-
bel an das Stromnetz anschließen und einschalten.
BI–WIRING VERKABELUNG
① Den Lautsprecher–Ausgang ⓯ des Vollverstärkers bzw.
der Endstufe mit dem Mittelton–Eingang ⓮ des Lautspre-
chersystems verbinden.
② Den Lautsprecher–Ausgang ⓯ des Vollverstärkers bzw.
der Endstufe mit dem kombinierten Subwoofer/Hochton–
Eingang ❶ des Lautsprechersystems verbinden. Die Ver-
bindung zwischen Mittelton–Eingang ⓮ und Subwoofer/
Hochton–Eingang ❶ entfällt oder muss entfernt werden.
③ Erst jetzt den Subwoofer mit dem beigepackten Netzka-
bel an das Stromnetz anschließen und einschalten.
SYSTEM INSTALLATION
GENERAL SAFETY PRECAUTIONS
• The power to all components must be switched "off" (or
disconnected from the household AC) before making any
audio connections.
• To prevent malfunction or defects, do not operate compo-
nents with open input/output terminals. Before making any
AC power connections, all components have to be properly
installed and connected.
• Control the polarity! Do not mix up + and –. Wrong polar-
ity may deteriorate sound quality, damage the amplifier and
active power module of the subwoofer. Do not short circuit
the +/– electric poles of the speaker cables.
Use high quality cable with solid speaker plugs (spades,
bananas etc).
STANDARD CONNECTION
① Connect the Midrange–Input ⓮ and the combined Sub-
woofer/Tweeter–Input ❶ with the jumper cable ⓰–MID.
The jumper cable is included in the accessory box.
② Connect the Speaker–Output ⓯ of your power (or inte-
grated) amplifier with the Midrange–Input ⓮ of the speaker
system.
③ Only now, connect the AC power cords of the compo-
nents to a household AC outlet and turn on the subwoofer.
BI–WIRING CONNECTION
① Connect the Speaker–Output ⓯ of your power (or inte-
grated) amplifier with the Midrange–Input ⓮ of the speaker
system.
② Connect the Speaker–Output ⓯ of your power (or inte-
grated) amplifier with the combined Subwoofer/Tweeter–
Input ❶ of the speaker system. There is no connection us-
ing the jumper cable ⓰–MID between the Midrange–Input
⓮ and the Subwoofer/Tweeter–Input ❶.
③ Only now, connect the AC power cords of the compo-
nents to a household AC outlet and turn on the subwoofer.
11
