Frisco 120135 Instrukcja obsługi - Strona 2
Przeglądaj online lub pobierz pdf Instrukcja obsługi dla Produkt do pielęgnacji zwierząt domowych Frisco 120135. Frisco 120135 4 stron. Kennel
PARTS INCLUDED
Plastic Top Section
Plastic Bottom Section
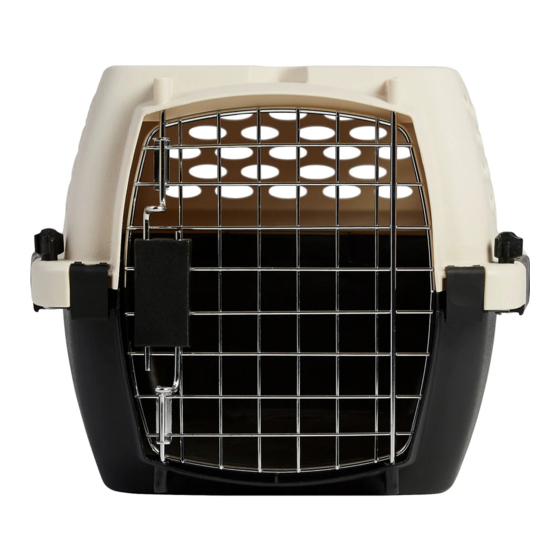
Steel Door
KENNEL ASSEMBLY INSTRUCTIONS
Assembly instructions for kennel models 120135 (Medium 28-inch), 120136 (Intermediate 32-inch),
120137 (Large 36-inch), and 120138 (X-Large 40-inch).
STEP 1
Separate the top section from
the bottom section and loosely place
the top half on the bottom half.
STEP 4
To open the door, squeeze the
two pins together and then pull on the
door while keeping the pins together.
11 Bolts
11 Wing Nuts
(b)
1
(a)
STEP 2
Lift the front of the top section
as shown, and put the steel door in place
by setting the bottom two rods into the
holes on the bottom section (a). Insert
the top two rods into the holes on the
top section (b).
4
STEP 5
Close and secure the door. Insert a
plastic zip tie (not included) through one of the
"tamper-proof" holes (located at the top and
bottom of the kennel door opening)(a). Loop
the zip tie around the edge of the metal door
and pull it tight to secure the door during travel
(b). Repeat for the other holes. Remove all zip
ties upon arrival at your final destination.
Available exclusively at
You will need only 11 bolts
and 11 wing nuts for assembly,
but each assembly packet will
contain additional parts.
2
STEP 3
sections are aligned and locate the holes
along the rim. Insert bolts from the
underside of the rim through the holes
and secure the bolts by screwing them
into the wing nuts on the top side (see
image). Tighten wing nuts by hand only,
and check them before each use to make
sure they are fully tightened and secure.
5a
security of the kennel door.
5b
1-800-672-4399
bolt
wing nut
3
Make sure the top and bottom
Note: This optional step
is recommended for
air travel to ensure the