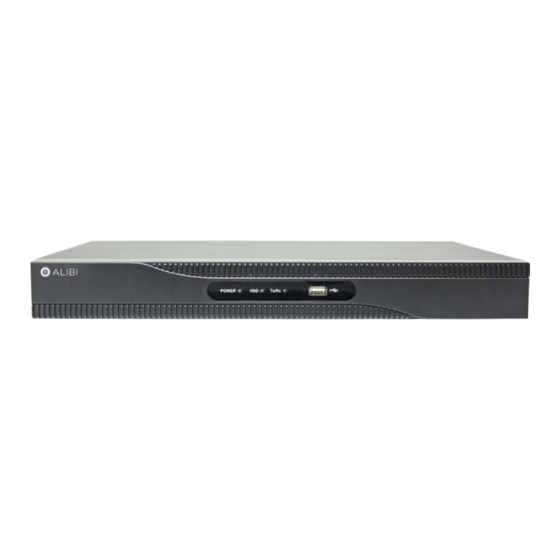
ALIBI ALI-NVR3308P Podręcznik szybkiej konfiguracji - Strona 7
Przeglądaj online lub pobierz pdf Podręcznik szybkiej konfiguracji dla Sprzęt sieciowy ALIBI ALI-NVR3308P. ALIBI ALI-NVR3308P 8 stron. Embedded network video recorders

3.
Orient the chassis as shown in the picture below. Become familiar with the locations of the HDD mounting screws for HDD 1 (initial
HDD) and HDD 2 (second HDD), and the location of the HDD 1 SATA connector on the PC board.
HDD power
HDD 1 SATA data
Back
cable connector
cable connector
HDD bay 1
SATA power cable
assembly
SATA data
cables (2)
4.
If the SATA power cable assembly and the SATA data cables provided are not plugged into the PC board, plug them into the board as
shown above.
7
www.Observint.com
HDD 2 SATA data
cable connector
PC board
Slots for HDD
Front panel
mounting
cables
screws (4 x 2)
HDD bay 2
5.
Un-package the HDD. In the photo below, note the location of the HDD mounting screw holes on the underside of the HDD. Also
shown are the SATA and Power cable connectors.
SATA cable
connector
Power cable
connector
6.
Screw the four HDD mounting screws into the mounting screw holes until the screw heads are about 1/8 inch from the surface of the
HDD.
Follow recommended electrostatic discharge (ESD) guidelines while performing this procedure. Install the HDD in a static-free
environment, wearing a certified ESD wrist strap. If a static free environment and ESD wrist strap is not available, touch the bare metal of
the NVR chassis frequently when installing the drive to dissipate the static charge naturally generated on your skin and clothing and avoid
CAUTION
touching electronic components.
7.
Position the HDD in HDD bay 1 such that the HDD cable connectors are toward the middle of the chassis and the HDD mounting
screws are fully seated in the mounting screw slots.
HDD mounting
screw holes
© 2017 Observint Technologies. All rights reserved.
