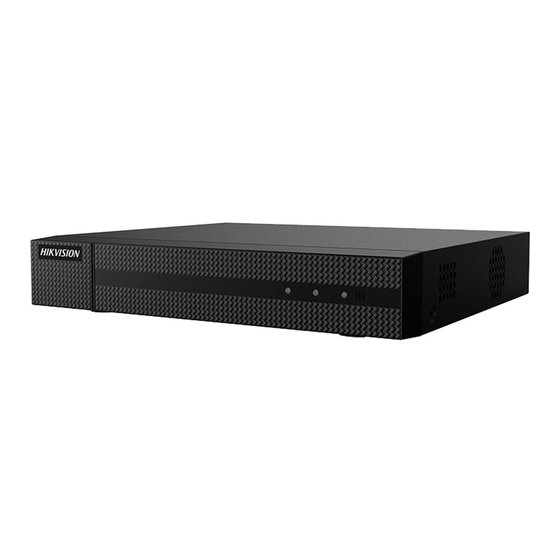
HIKVISION ERI-Q104-P4 Skrócona instrukcja obsługi - Strona 3
Przeglądaj online lub pobierz pdf Skrócona instrukcja obsługi dla DVR HIKVISION ERI-Q104-P4. HIKVISION ERI-Q104-P4 14 stron. Eri-q10 series network video recorder

R E A R P A N E L S
48V
2
No.
Item
1
LAN
2
Power Supply
3
VGA
4
HDMI
5
USB Interface
6
PoE/IP Camera Inputs
7
---
8
AUDIO IN/OUT
9
Ground
1
C O N N E C T I N G D E V I C E S
• Connect power supply to NVR and plug into 110 to 240 VAC outlet (surge suppressor recommended).
• Connect NVR to LAN using Cat 5e cable.
• Connect video monitor(s) to NVR using HDMI and/or VGA cables, as appropriate.
• Connect mouse to USB port (wireless mouse can be used in lieu of included mouse).
• Connect to audio I/O using RCA connectors.
• Turn power switch on. Power indicator LED will remain on to indicate unit is starting/on.
2
S T A R T U P
• Proper startup is crucial to expanding the life of the NVR.
• Check the power supply is plugged into an electrical outlet.
• It is HIGHLY recommended that an Uninterruptible Power Supply (UPS) be used in conjunction with the
device.
• The Power LED should turn green. The unit will start.
VGA
3
Description
Connector for network
Input: 100 to 240 VAC
Output to NVR: 48 VDC
DB-15 connector for VGA output. Displays local video output and menu.
HDMI video output connector
Universal Serial Bus (USB) port for additional devices
PoE out and IP camera inputs
---
RCA connectors
Grounding screw
ERI-Q104-P4
1
LAN&USB
4
5
ERI-Q104-P8
9
6
