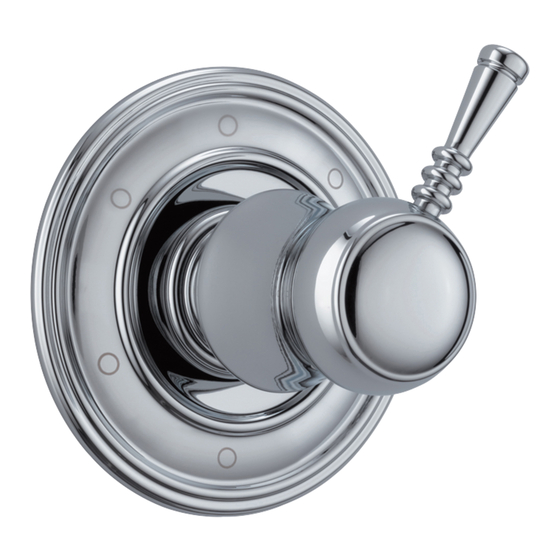
Brizo T609 Series Instrukcja instalacji
Przeglądaj online lub pobierz pdf Instrukcja instalacji dla Produkt hydrauliczny Brizo T609 Series. Brizo T609 Series 8 stron. 3-port, three and six function diverter trim
Również dla Brizo T609 Series: Podręcznik (8 strony), Podręcznik (8 strony), Podręcznik (8 strony), Podręcznik (8 strony)

Models/Modelos/Modèles
T608––––p
T609––––p
Series/Series/Seria
Write purchased model number here.
Escriba aquí el número del modelo comprado.
Inscrivez le numéro de modèle ici.
?
1-877-345-BRIZO (2749)
www.brizo.com/customer-support
Specify Finish/Especifíque el Acabado/Précisez le Fini
p
1
A.
1
Note: The diverter rough (R60700) must be installed
before installing the trim.
Remove plasterguard (1), bonnet (2) and test cap (3)
A.
from the rough body (4).
Nota: debe instalar la plomería preliminar (R60700)
antes de instalar el accesorio final.
Cuando el desviador está listo el accesorio quite el
A.
protector de yeso (1), en capuchón (2) y la tapa de
prueba (3) del cuerpo (4).
Note : La plomberie brute (R60700) de l'inverseur doit être
installée avant la finition.
Lorsque l'inverseur est prêt à recevoir les éléments de
A.
finition, retirez le protecteur (1), le chapeau (2) et le
capuchon d'essai (3) du corps (4).
www.brizo.com
T60805p
T60905p
T60835-LHPp
T60935-LHPp
T60861p
T60961p
T60885p
T60985p
4
3
2
91835
3-PORT, THREE AND SIX FUNCTION
DIVERTER TRIM
DESVIADOR DE SEIS FUNCIONES
DE 3 TOMAS ACCESORIOS
DÉRIVATION À TROIS ORIFICES ET
SIX FONCTIONS FINITION
T60810p
T60830p
T60910p
T60930p
T60840p
T60850p
T60940p
T60950p
You may need/
Usted puede necesitar/
Articles dont vous pouvez avoir besoin:
T60875p
T60880p
T60975p
T60980p
T60890p
T60888p
T60988p
T60990p
B.
R60700
B.
Install cartridge assembly (1) into rough body (2) assuring
that the locating pin on the bottom of the cartridge aligns with
mating hole in body. Note: Right port (3) must be plugged if
using a 3 function diverter cartridge. Slide threaded sleeve
(4) over cartridge stem aligning tabs on sleeve with slots in
body (2) and tighten securely with bonnet (5).
Instale el ensamble del cartucho (1) en el cuerpo (2)
B.
asegurándose que la clavija localizadora en la parte inferior del
cartucho está alineada con el agujero correspondiente en el
cuerpo. Nota: La toma de agua en la derecha (3) debe estar
tapada si se utiliza un cartucho desviador de 3 funciones.
Deslice la manga enroscada (4) sobre la espiga del cartucho
alineando las lengüetas en la manga con las ranuras en el
cuerpo (2) y apriete bien con el capuchón (5).
Installez la cartouche (1) dans le corps (2) en prenant soin de
B.
faire correspondre l'axe de détrompage au bas de la cartouche
avec le trou dans le corps. Note : Vous devez obturer
l'orifice droit (3) si vous utilisez une cartouche d'inverseur
à trois fonctions. Glissez le manchon fileté (4) sur la tige de
la cartouche en prenant soin de faire correspondre les pattes
sur le manchon avec les rainures dans le corps (2) et serrez-le
solidement avec le chapeau (5).
1
3
5
1
4
3/32"
2
12/07/2022
Rev. E
