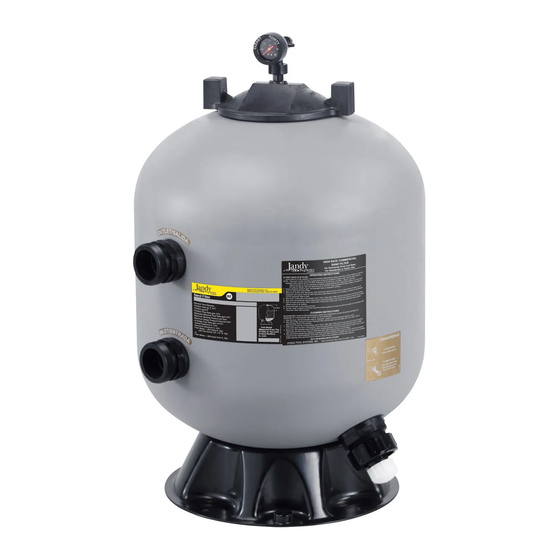
Jandy JS Series Instrukcja instalacji i obsługi - Strona 7
Przeglądaj online lub pobierz pdf Instrukcja instalacji i obsługi dla Systemy filtracji wody Jandy JS Series. Jandy JS Series 20 stron. Composite sand filters, sidemount

O-Ring
Union Nut
Lid
Figure 4.
Pressure Gauge/Air Release Assembly
3.
A visual inspection of all parts should be made
now. See parts list in Section 9.
4.
With the carton in an upright position, remove the
filter tank from the carton.
5.
To mount the pressure gauge/air release assembly,
located in the accessory bag, to the lid of the filter
tank:
a.
Place the smaller, thicker o-ring onto the
threads of the tank adapter. See Figure 4.
Slide the tank adapter through the coupling
nut and into the filter tank lid. Use the
flats on the tank adapter to tighten. Do not
overtighten.
b.
Place the larger, thinner o-ring onto the
gauge housing. Thread the housing into the
coupler on the tank adapter.
c.
Orient the gauge/air release assembly in the
desired position. Raise and thread the locknut
onto the bottom of the gauge/air release
assembly. Hand tighten the nut only. Using
a wrench to tighten the nut may damage the
nut, gauge or air release assembly.
3.4 Filter Plumbing
To avoid an electrical shock hazard, which can result
in serious injury or death, ensure that all electrical
power to the system is turned off before approaching,
inspecting or troubleshooting any leaking valves
or plumbing that may have caused other electrical
devices in the surrounding area to get wet.
1.
This filter operates under pressure. When lid is
installed properly and operated without air in
the water system, this filter will operate in a safe
manner.
2.
If the system can be subjected to higher pressure
than the maximum rating of any component,
JS Series Sidemount Sand Filters
Housing
Tank Adapter
O-Ring
WARNING
install an ASME
®
approved automatic pressure
relief valve or pressure regulator in the circulation
system. Set the relief valve or pressure regulator to
lowest working pressure of any of the components
in the system.
3.
A positive shutoff valve at the outlet piping of
the filter is not recommended. If the pump is
operated with a shutoff at the filter outlet closed,
an explosive condition could result from back
pressure and the possibility of entrapped air in
the filter. Sometimes equipment isolation shutoff
valves are required in installation with the filter
and other equipment below the pool water level to
allow for equipment maintenance without draining
down the pool. In this event, any shutoff valves
are to be prominently labeled "Warning: Explosive
Hazard. Do Not Run System With Valve Closed".
Running pumps with no flow will also seriously
damage the equipment.
4.
Never install a chemical feeder or chlorine
generator upstream of the filter or heater. Install
downstream of the filter and heater and install a
check valve to prevent water from back flowing
from the chlorinator or feeder.
Creating high vacuum levels can cause the tank
vessel to crack and leak with the potential for property
damage.
5.
This is a pressure filter. Install only on the
discharge side of a pump system.
6.
Backwash (waste) piping that discharges water
at an elevation of 10 ft. or lower than the water
surface of the pool should be equipped with a
vacuum-breaker in the waste piping within 10
ft. in vertical drop from the elevation of the pool
surface.
7.
Place the filter on the concrete pad, lined up with
the inlet/outlet pipes. See Figure 5.
8.
To reduce pressure losses, 2" (minimum) piping is
recommended for plumbing the system.
9.
For best efficiency use the fewest possible number
of fittings. This will prevent a restriction in the
water flow.
a.
The larger JS series sand filters come with
a Jandy Sweep Elbow for this purpose.
The sweep elbow also includes a threaded
port and plug so that a ½" hose bib can be
connected for pressure testing. See Figure 6.
b.
To install the sweep elbow follow the
instructions in Steps 9.c and 9.d.
Page 7
CAUTION
