Gardena 14602 Instrukcja obsługi - Strona 6
Przeglądaj online lub pobierz pdf Instrukcja obsługi dla Pompa wodna Gardena 14602. Gardena 14602 18 stron. Battery submersible pump/battery rain water tank pump

Electrical safety
DANGER! Cardiac arrest!
This product makes an electromagnetic field while
it operates. This field may under some conditions
interfere with active or passive medical implants.
To decrease the risk of conditions that can possibly
injure or kill, we recommend persons with medical
implants to speak with their physician and the medi-
cal implant manufacturer before you operate the
product.
Please regularly check the connecting line.
Before using, always subject the pump to a visual
i nspection.
A pump which is damaged should not be used. In the
event of damage, have the pump checked by GARDENA
Service.
Protect the battery contacts from moisture.
Personal safety
DANGER! Risk of suffocation!
Small parts can be easily swallowed. There is also
a risk that the polybag can suffocate toddlers. Keep
toddlers away when you assemble the product.
2. ASSEMBLY
DANGER! Risk of injury!
Injury when the product starts accidentally.
v Remove the battery before you assemble the
product.
To connect the hose (Art. 14600):
The hose can be connected to the pump connection
(2)
via the connection nipple
or via the GARDENA Connection System [13 mm (1/2") /
15 mm (5/8") / 19 mm (3/4")].
To connect the hose via the connection nipple
[ Fig. A1 / A2 / A3 ]:
When using a 25 mm (1") hose, the pump has the
maximum delivery capacity.
25 mm (1") and 19 mm (3/4") hoses connected with
(2)
a connection nipple
must be fastened, for example
with a GARDENA Hose Clamp Art. 7192 / 7191.
Hose diameter
25 mm (1")
GARDENA Hose Clamp
Art. 7192
[ Fig. A1 ]
[ Fig. A2 ]
Hose connection
Detach nipple
(a)
at
1. Screw the connection nipple
onto the pump. (With 25 mm (1") hoses, first detach
(2)
the connection nipple
2. Slide the hose onto the connection nipple
secure it e. g. with a GARDENA Hose Clamp
Art. 7192 / 7191.
16
(1)
[19 mm (3/4") / 25 mm (1")]
19 mm (3/4")
Art. 7191
[ Fig. A3 ]
Do not detach
nippel
(2)
(4)
with the washer
(a)
at
.)
(2)
and
Submerge the pump in the water with a rope at the
eyelet. Pull the pump up as well.
Type 14602: Alternatively, the pump can be submerged
or pulled up via the telescopic pipe.
Observe the minimum water level in accordance with the
Technical Data given for the pump.
Allow the pump to run no longer than 10 minutes against
a closed pressure side (e. g. closed regulating valve).
Do not use the product while you are tired or under the
influence of drugs, alcohol or medication. A moment of
inattention while you operate the product may result in
serious personal injury.
Do not open the pump further than delivery status (only
exception: the filter and the foot).
If dirty water has been pumped, the foot and the filter can
only be loosened with great force and the vent valve can
become stuck.
v If necessary, loosen the vent valve with compressed air
or a wire.
To connect the hose via the GARDENA Connection
System [ Fig. A4 ]:
19 mm (3/4") / 15 mm (5/8") and 13 mm (1/2") hoses can
be connected via the GARDENA Connection System.
Hose diameter
Pump connection
13 mm (1/2")
GARDENA Pump
Connection Set
15 mm (5/8")
GARDENA Pump
Connection Set
19 mm (3/4")
GARDENA Pump
Connection Set
v Connect the hose via the relevant GARDENA
Connection.
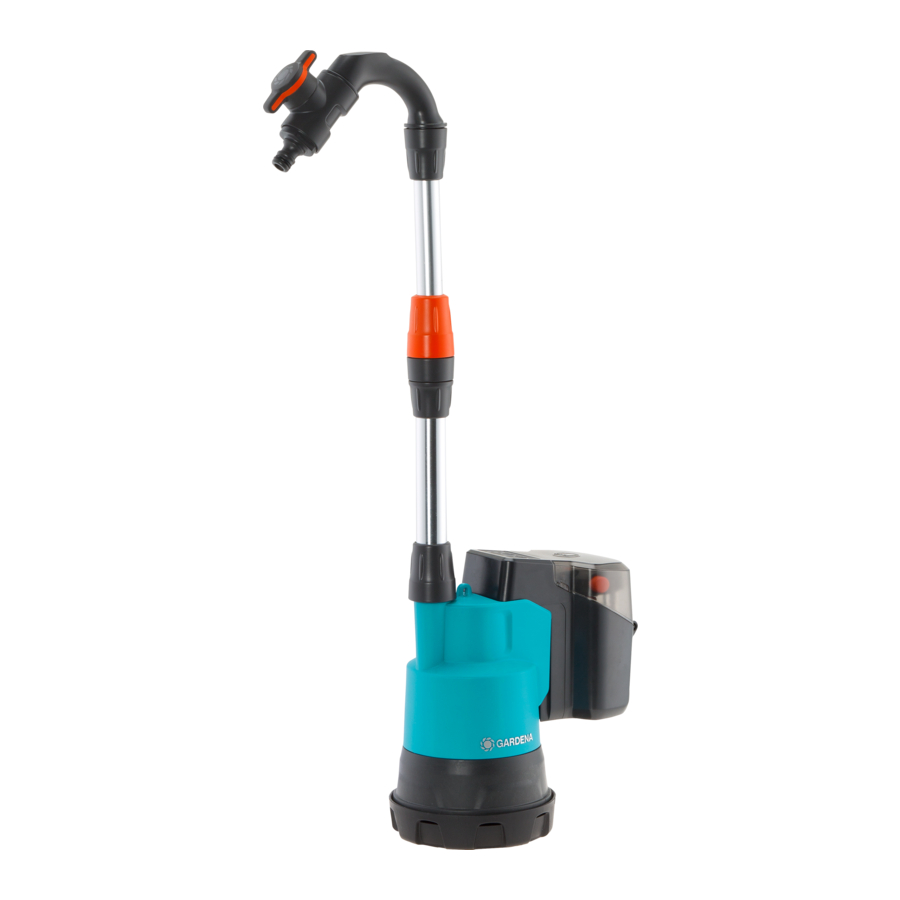
To connect the telescopic pipe (Art. 14602) [ Fig. A5 ]:
We recommend the use of a GARDENA Hose
Connector for connecting a garden hose:
– Art. 18215 for 13 mm (1/2") and 15 mm (5/8") or
– Art. 18216 for 19 mm (3/4"). With the use of
19-mm-(3/4")-hose line, the pumping quantity is
the greatest.
The telescopic pipe can be adjusted between 57 – 77 cm.
The telescopic pipe can be extended several times by
21 cm with the GARDENA Extension Pipe Art. 1420.
1. Screw the telescopic pipe
nector
(1)
. Make sure that the washer
connecting thread
(5)
of the telescopic pipe
2. Loosen the threaded collar
Art. 1750
Art. 1750
Art. 1752
(3)
onto the pump con-
(4)
lies in the
(3)
.
(6)
(3)
of the telescopic pipe
.
