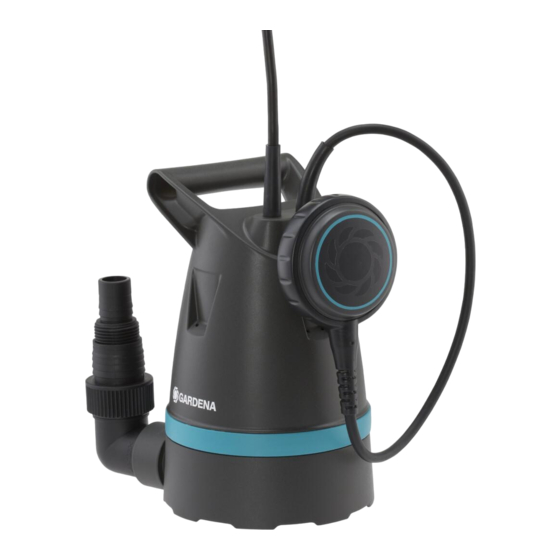
The power cable or the float switch must not be used for
mounting or relocating the pump. For submerging or lift-
ing / securing the pump, fix a rope to the pump's carrying
handle.
Extension cables must meet the requirements of
DIN VDE 0620.
In Austria
In Austria the electrical connection must satisfy the
ÖVE-EM 42, T2 (2000)/1979 § 22 to § 2022.1.
This requires that pumps used for swimming pools and
garden ponds may only be powered through an isolating
trans former.
v Please ask your electrician for his advice.
In Switzerland
In Switzerland mobile appliances which are used out-
doors, must be connected via a residual-current device.
Visual check
v Before operating the pump, first make a visual check,
if there is any damage of the pump (esp. regarding
power cable and plug).
v Observe the minimum water level and the max. delivery
height (see 7. TECHNICAL DATA).
DANGER! Electric shock!
A damaged pump must not be used.
v In case of damage, please have the pump checked by
our GARDENA Service Centre.
Manual operation
During manual operation, the pump must be switched off
as soon as all the liquid has been pumped away.
v Observe the pump at all times during manual
operation.
Notes on use
Dry-running operation causes increased wear and is to be
avoided. Therefore, in manual operation the pump must
be immediately unplugged when water fails to flow.
Avoid running of the pump for more than 10 min. against
closed delivery side of the pump.
2. INITIAL OPERATION
Hose diameter
Hose connection of universal fitting
[ Fig. I1 ]
Hose connection
13 mm (¹⁄₂")
16 mm (⁵⁄₈")
19 mm (³⁄₄")
[ Fig. I2 ]
2
Cut off topmost nipple at
Sand and other abrasive substances cause increased
wear and reduce the pump's output.
Take care that the pump is located where the inlet open-
ings at the suction base are obstructed neither completely
nor partly.
Stand the pump on a brick if using in a pond.
Leaking lubricants can contaminate the pumped liquid.
Instructions for submersible pumps
When you purchase your pump the swivel feet are set
to the flat suction position (1 mm).
v For normal operation, turn the feet 180° to 5 mm.
The pump is lifted 5 mm.
v Clear the outlet line before use.
Thermal protection switch
The pump is automatically switched off on overheating
by the built-in thermal motor protector. After having
cooled down, the motor automatically switches on again
(see 6. TROUBLESHOOTING).
Automatic deaerating valve [ Fig. S1 ]:
The automatic deaerating valve eliminates any air pockets
in the pump.
If the pump is half submersed, water may come out of the
1
ventilation holes
.
This is not a defect of your pump, but serves to deaerate
the pump.
DANGER!
This product makes an electromagnetic field while it oper-
ates. This field may under some conditions interfere with
active or passive medical implants. To decrease the risk
of conditions that can possibly injure or kill, we recom-
mend persons with medical implants to speak with their
physician and the medical implant manufacturer before
you operate the product.
DANGER!
Small parts can be easily swallowed. There is also a risk
that the polybag can suffocate toddlers. Keep toddlers
away when you assemble the product.
25 mm (1")
[ Fig. I3 ]
<
. Do not cut off any nipples.
38 mm (1 ¹⁄₂")
[ Fig. I4 ]
y
Cut off top two nipples at
.
11

