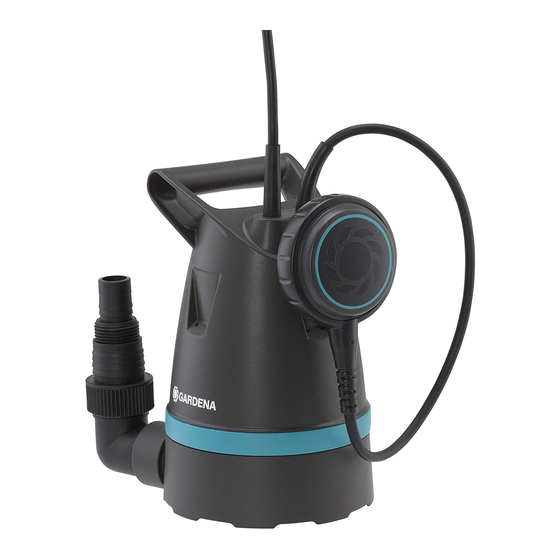
Gardena 9300 Instrukcja obsługi - Strona 5
Przeglądaj online lub pobierz pdf Instrukcja obsługi dla Pompa wodna Gardena 9300. Gardena 9300 13 stron. Clear water submersible pump / dirty water submersible pump

v Screw the elbow connector
The hose can be connected via the pump connection
and the con nection nipple
38 mm (1 1/2")] or via the GARDENA Connection System
[13 mm (1/2") / 16 mm (5/8") / 19 mm (3/4")]. When using
a 38 mm (1 1/2") hose, the pump has the maximum
delivery capacity.
Connect hose via connection nipple
[ Fig. A2 / A3 / A4 ]:
25 mm (1")- and 38 mm (1 1/2")-hoses can be connected
(2)
via the connection nipple
Hose diameter
GARDENA Hose Clamp
Hose connection
[ Fig. A2 ]
25 mm (1")- and 38 mm (1 1/2") hoses connected with
(2)
a connection nipple
must be fastened, for example
with a GARDENA Hose Clamp Art. 7193 / 7195.
3. OPERATION
DANGER! Risk of injury!
Injury when the product starts accidentally.
v Disconnect the product from the mains before
you connect, adjust or transport the product.
To pump water:
If the pump cannot be immersed into the water reservoir
via the handle, the pump must always be immersed into
the well or water reservoir via a rope. Minimum immersion
depth during initial operation see 7. TECHNICAL DATA.
Take care that the pump is located where the inlet
openings at the suction base are not obstructed neither
completely nor partly.
Stand the pump on a brick if using in a pond.
1. Submerge the pump in water reservoir.
2. Connect the pump to the mains.
Attention! The pump begins operating immediately.
Automatic mode with float switch [ Fig. O1 ]:
So that the pump automatically switches off when
there is no liquid to pump, the Float Switch
be able to freely move on the surface of the water.
To adjust the Cut-in and Cut-out Height [ Fig. O1 ]:
The maximum cut-in height and minimum cut-out height
(see 7. TECHNICAL DATA) can be adjusted by pushing the
float switch wire into the float switch lock.
6
(1)
clockwise into the pump.
(2)
[25 mm (1") and
.
25 mm (1")
38 mm (1 1/2")
Art. 7193
Art. 7195
Do not detach
Detach nipple
(b)
nipple
at
[ Fig. A3 ].
[ Fig. A4 ].
(3)
must
1. Screw the elbow connector into the pump.
2. Screw connection nipple
(1)
(1)
tion
. (For 38 mm (1 1/2") hoses, first detach the
connection nipple
3. Push the hose onto the connection nipple
and fix e. g. with a GARDENA Hose Clamp
Art. 7193 / 7195.
Connect hose via the GARDENA Connection System
[ Fig. A5 ]:
We do not recommend to use hoses with a diameter
smaller than 19 mm (3/4"), as otherwise the flow rate will
be reduced.
Hose diameter
Pump connection
19 mm (3/4")
GARDENA Pump Connection Set
v Connect the hose via the relevant GARDENA Connec-
tion System.
• The shorter the length of cable between the float
(3)
switch
and the float switch lock
cut-in height and the higher the cut-out height.
v Push the cable of the float switch
in the float switch lock
CAUTION!
In order to ensure that the float switch is able to
switch on and off, the cable length between the
float switch and the float switch lock must be at
least 10 cm.
Manual operation [ Fig. O2 ]:
The pump remains permanently in operation because
the float switch is bypassed.
1. Slide the float switch
the float switch locking device
2. Stand the pump on a firm surface.
3. Connect the pump to the mains.
Attention! The pump begins operating immediately.
The minimum residual water depth (see 7. TECHNICAL
DATA) is only achieved in manual mode because the float
switch already switches off the pump before this when in
automatic mode.
(2)
onto the pump connec-
(2)
(b)
in the groove at
).
(2)
(A)
, the lower the
(3)
into the opening
(A)
.
(3)
with the cable downwards onto
(A)
.
Art. 1752
