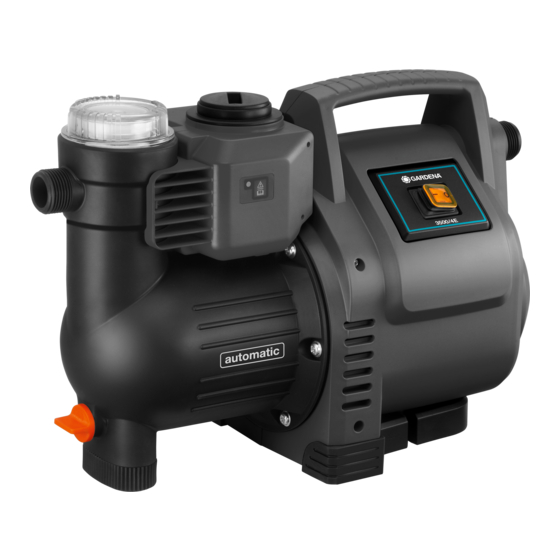
Gardena Classic 3500/4E Instrukcja obsługi - Strona 6
Przeglądaj online lub pobierz pdf Instrukcja obsługi dla Pompa wodna Gardena Classic 3500/4E. Gardena Classic 3500/4E 19 stron. Electronic pressure pump
Również dla Gardena Classic 3500/4E: Instrukcja obsługi (18 strony), Instrukcja obsługi (18 strony)

Pressure outlet:
5
8
Art. 1752
7
4. Operation
Filling the Electronic Pressure
Pump:
ß
A
9
0
a
The hose can be connected either to the delivery side 33.3 mm
(G 1)-thread of the 120° swivelling connection and / or of
the horizontal connection. Art. no. 1757 only has a hori zontal
connection. Use pressure-resistant hoses such as:
• GARDENA Garden Hose (3/4") Art. no. 18113 with
GARDENA Connection Set Art. no. 1752.
Open the spray nozzle at the water hose, open the water tap,
operate the toilet flush.
If the pump is permanently installed indoors for domestic water
supply, the Electronic Pressure Pump should not be connected
6
to the domestic water pipework with rigid pipes but with flexible
tubing (e. g. reinforced hoses), to reduce noise and to avoid
damage to the pump caused by pressure blows.
Install fixed pipes at an upward gradient on the first 2 m only.
DANGER! Electric shock!
Risk of injury due to electric shock!
v Before filling the Electronic Pressure Pump,
unplug the equipment from the mains.
1. Unscrew the lid
provided.
2. Slowly fill in the liquid to be pumped via the filler connection
up to the overflow (approx. 2 to 3 l) until the water level no
longer drops under the suction side inlet or the water flows
out at the horizontal connector. With fixed installations,
unscrew the black lid
q
the horizontal connector.
3. Empty any water remaining in the delivery hose so that the air
can escape during filling and priming.
4. Open any shut-off devices in the delivery line (watering acces-
sories, tap, etc.) so that air can escape before the priming
procedure begins. If the delivery line cannot be emptied due
to fixed installation, unscrew the black lid. Considerable
amounts of liquid may escape. Please keep a sufficiently large
receptacle at hand for collection.
5. Tighten the lid
6. Lift up the delivery hose just behind the pressure outlet.
7. Insert mains plug into a 230 V / 50 Hz AC socket.
8. Change the switch
ß
A
The switch is illuminated and the pump starts after approx.
9
2 seconds.
9. Close shut-off devices in the delivery pipeline again when the
pump begins to continuously convey water.
The pump turns off automatically approx. 10 seconds after
0
closing the shut-off device. The normal operation (Standby)
has been reached.
9
of the filter chamber with the spanner
r
and fill with liquid until it flows towards
9
of the filter chamber up to the stopper
q
to I.
ß
A
0
<
.
19
